Irresistible Homemade Red Velvet Cake You’ll Fall in Love With [Recipe from Scratch]
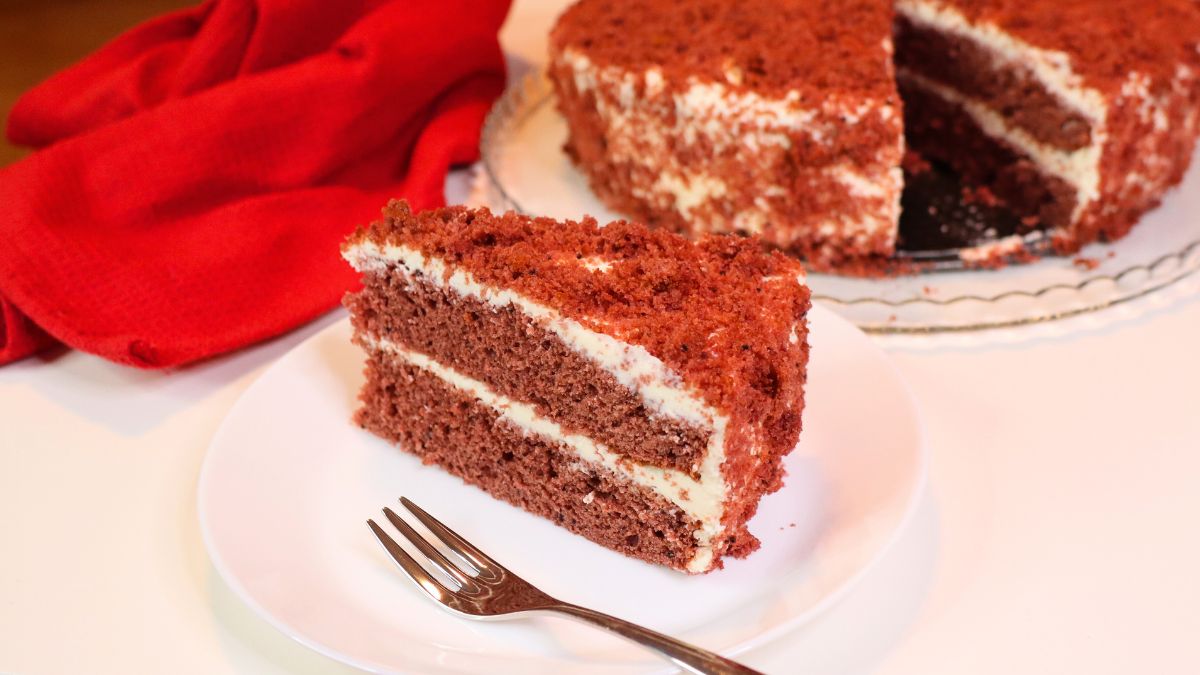

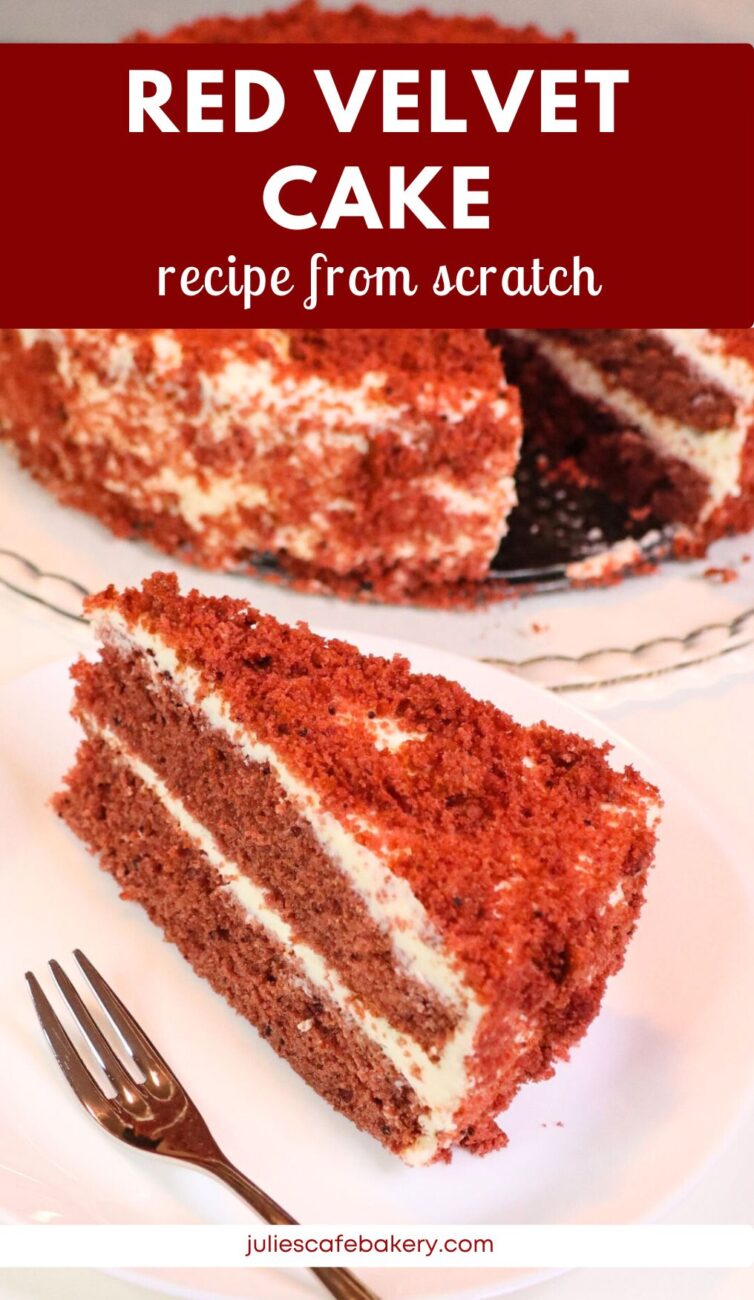
If you’ve never tried red velvet cake before, you might not be drawn to it at first glance. Its bright red color can seem a bit artificial or off-putting. But trust me, this cake will definitely catch your eye—and your taste buds! That was exactly my experience with red velvet cake. I hesitated for a long time about giving it a chance, and once I did, there was no turning back. Red velvet cake quickly became my favorite dessert!
Why Will You Love this Recipe?
- It’s a Showstopper. The vibrant red color and velvety texture make this cake stand out on any dessert table. It’s sure to impress your friends and family.
- Delicious Flavor Combo. The subtle cocoa flavor combined with tangy cream cheese frosting is simply irresistible. Every bite melts in your mouth.
- Perfect for Special Occasions. Whether it’s Valentine’s Day, a birthday, or just because, this cake adds a touch of elegance to any event. Plus, it’s fun to make!
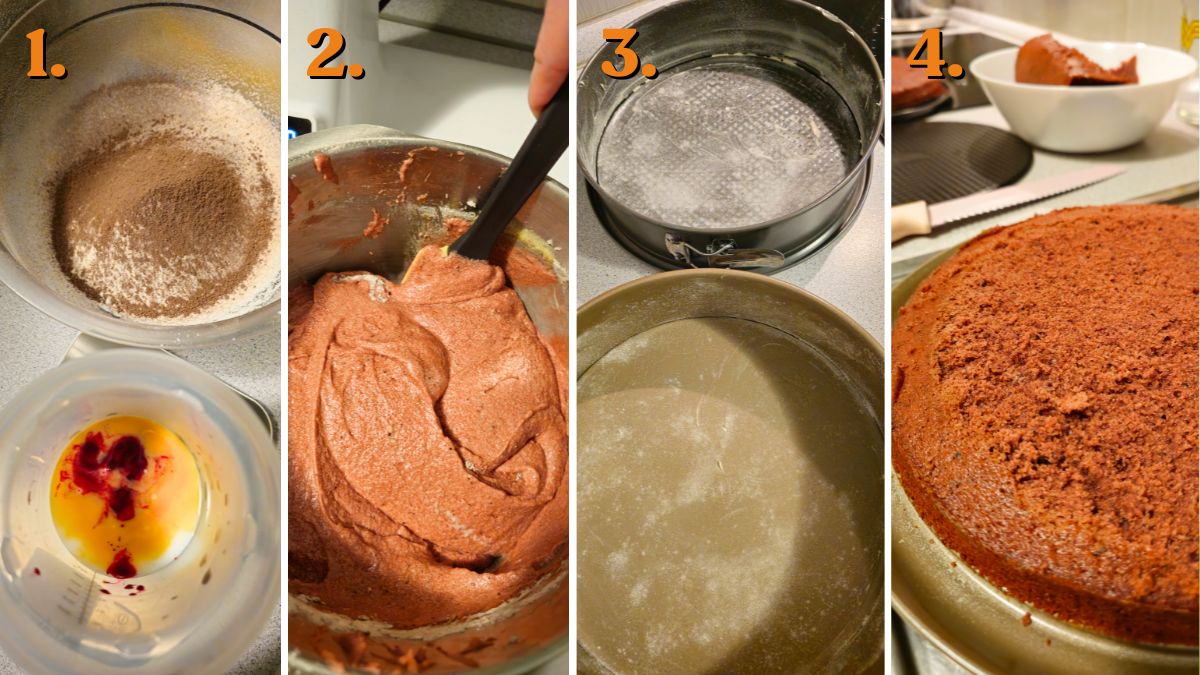
Here’s how to make the red cake:
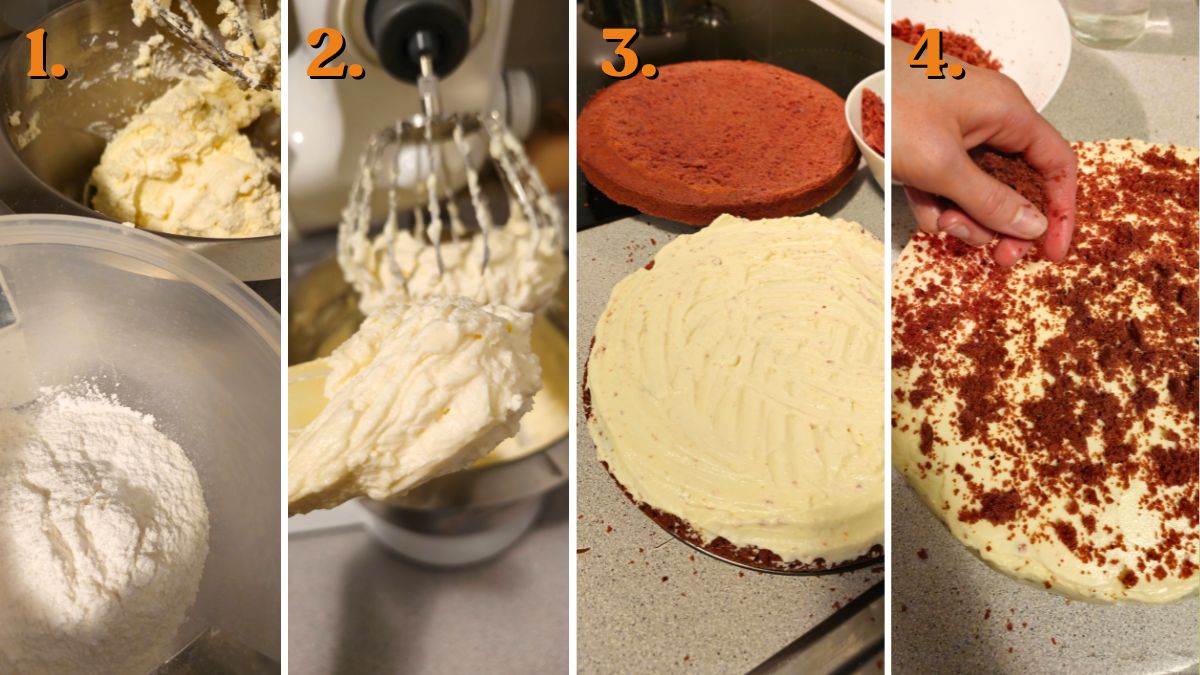
Here’s how to make the best cream cheese frosting for red velvet cake:
Recipe Variations
- Make Cupcakes Instead. Turn this recipe into adorable red velvet cupcakes. They’re perfect for parties and easy to serve.
- Add Some Crunch. Sprinkle chopped nuts like pecans or walnuts between the layers or on top. It adds a delightful texture contrast.
- Try Different Frostings. While cream cheese frosting is classic, you can experiment with buttercream or even white chocolate ganache. It changes up the flavor profile.
Tools You’ll Need
- Two 10-Inch Round Cake Pans. You’ll need these to bake the cake layers evenly. Make sure to grease and flour them well.
- Electric Mixer. A stand or hand mixer will make mixing the batter and frosting a breeze. It helps achieve that fluffy texture.
- Mixing Bowls
- and Spatula. Essential for combining ingredients and scraping down the sides of the bowl. Basic kitchen tools that make baking easy.
FAQ
Can I Freeze This Cake?
Yes, you can freeze the cake layers before frosting them. Wrap each layer tightly in plastic wrap and aluminum foil, and freeze for up to three months. Thaw them in the refrigerator before assembling and frosting.
How Do I Store Leftovers?
Store any leftover cake in an airtight container in the refrigerator. It will stay fresh for up to five days. Bring it to room temperature before serving for the best taste.
Is This Cake Suitable for Vegetarians?
Absolutely! This red velvet cake is perfect for vegetarians. It does contain dairy and eggs, so it’s not suitable for vegans.
What Can I Substitute for Buttermilk?
If you don’t have buttermilk, mix 1 tablespoon of white vinegar or lemon juice with 1 cup of milk. Let it sit for 5 minutes before using it in the recipe.
Can I Make This Cake Gluten-Free?
Yes, you can substitute the all-purpose flour with a gluten-free flour blend. Just make sure it’s a 1:1 substitute suitable for baking.
What Should I Serve With It?
This cake is delicious on its own, but you can serve it with fresh berries or a scoop of vanilla ice cream. A cup of coffee or tea pairs well too.
Other Recipes You’ll Love
- Red Velvet Pancake Tacos With Strawberries
- Red Velvet Marbled Cheesecake
- Red Velvet Pavlova Cake
- Red Velvet Waffles With Cake Mix
- Red Velvet Cake with Whipped Cream Frosting
- Red Velvet Waffles and Chicken
- Betty Crocker Red Velvet Cake Mix Cookies
- Red Velvet Deep Fried Oreos Recipe
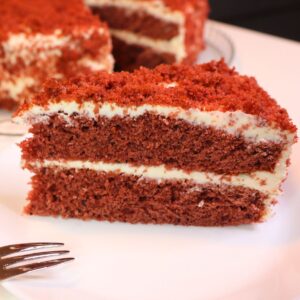
Red Velvet Cake Recipe from Scratch
Equipment
- 1 10-inch round cake pans
- 1 stand mixer
- 2 Mixing bowls
- 1 Spatula
Ingredients
For the Cake:
- 3/4 cup unsalted butter 170 grams, at room temperature
- 1 1/2 cups granulated sugar 300 grams
- 4 large eggs at room temperature
- 2 teaspoons vanilla extract
- 2 teaspoons white distilled vinegar
- 2 tablespoons red food coloring
- 1 1/4 cups buttermilk 300 ml (see notes)
- 2 3/4 cups all-purpose flour 350 grams
- 2 tablespoons unsweetened cocoa powder 15 grams
- 2/3 teaspoon salt
- 1 teaspoon baking soda
- 1 teaspoon baking powder
For the Frosting:
- 21 ounces cream cheese 600 grams, softened
- 2/3 cup unsalted butter 150 grams, softened
- 1/2 teaspoon salt
- 1 tablespoon vanilla extract
- 1 1/2 cups powdered sugar 170 grams
Instructions
Prepare the Ingredients:
- Bring all ingredients to room temperature, including eggs, buttermilk, and butter.
Preheat the Oven and Prepare Pans:
- Preheat your oven to 350°F (180°C). Prepare two 10-inch round cake pans by lightly greasing them with butter and dusting with flour.
Mix Dry Ingredients:
- In a medium bowl, sift together the all-purpose flour, cocoa powder, baking soda, baking powder, and salt.
Mix Wet Ingredients:
- In another bowl, combine the buttermilk, red food coloring, vinegar, and vanilla extract.
Cream Butter and Sugar:
- In a large mixing bowl, beat the softened butter and granulated sugar on high speed for 2-3 minutes until light and fluffy.
Add Eggs:
- Reduce the mixer speed to medium-low and add the eggs one at a time, beating well after each addition.
Combine Wet and Dry Ingredients:
- With the mixer on low speed, alternately add the dry ingredients and the buttermilk mixture to the butter mixture. Start with the wet ingredients and end with the dry, mixing gently until just combined. Do not overmix.
Divide and Bake:
- Divide the batter evenly between the two prepared cake pans. Bake for about 30 minutes, or until a toothpick inserted into the center comes out clean.
Cool the Cakes:
- Allow the cakes to cool in the pans for 10 minutes, then remove them from the pans and let them cool completely on wire racks for at least 1-2 hours. For quicker cooling, you can place them in the freezer for up to 30 minutes.
Prepare the Frosting:
- In a large mixing bowl, beat the softened cream cheese, softened butter, salt, and vanilla extract on medium speed for 2-3 minutes until smooth.
Add Powdered Sugar:
- Gradually add the powdered sugar while mixing on low speed. Once all the sugar is incorporated, increase the speed to high and beat for an additional 2 minutes until the frosting is smooth and creamy.
Assemble the Cake:
- Level the Cakes: Trim the tops of the cooled cakes to level them. Reserve the trimmings for decoration.
- First Layer: Place one cake layer upside down on a serving platter. Spread half of the frosting evenly over the top.
- Second Layer: Place the second cake layer on top. Use the remaining frosting to cover the top and sides of the cake.
Decorate:
- Crumble the reserved cake trimmings and sprinkle them over the top and sides of the cake.
Chill the Cake:
- Refrigerate the assembled cake for at least 4 hours, but it’s best if left overnight.
Serve:
- Slice and enjoy your delicious red velvet cake!
