Taylor Swift Lover Cake Recipe
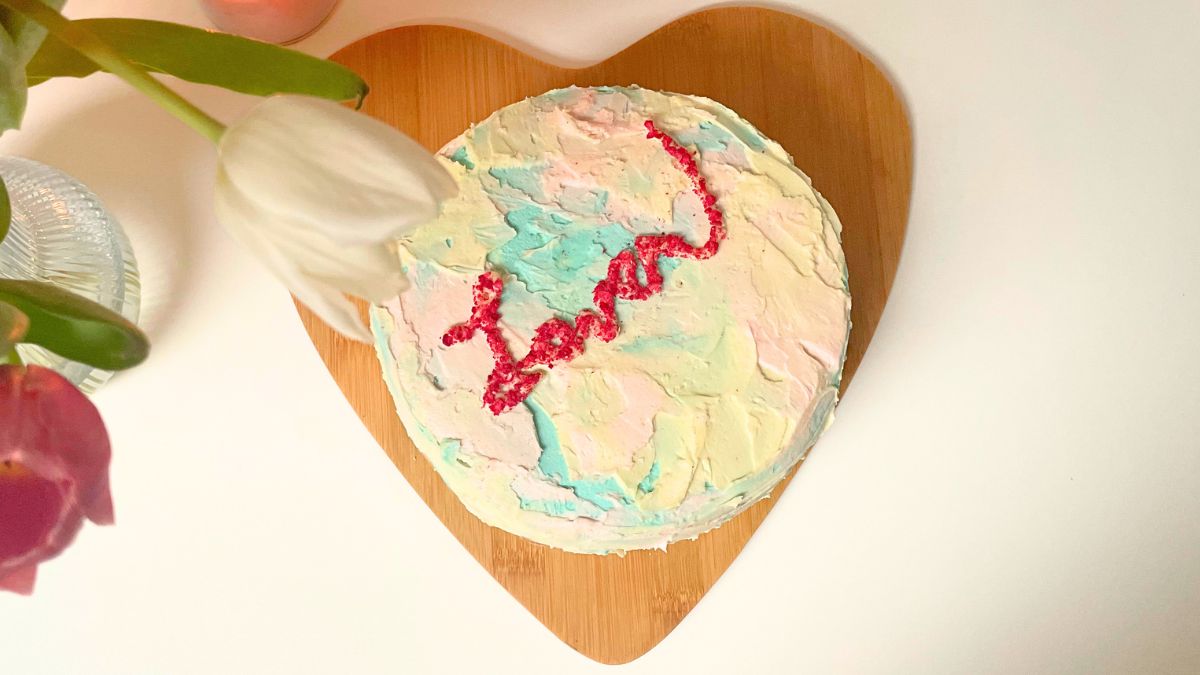

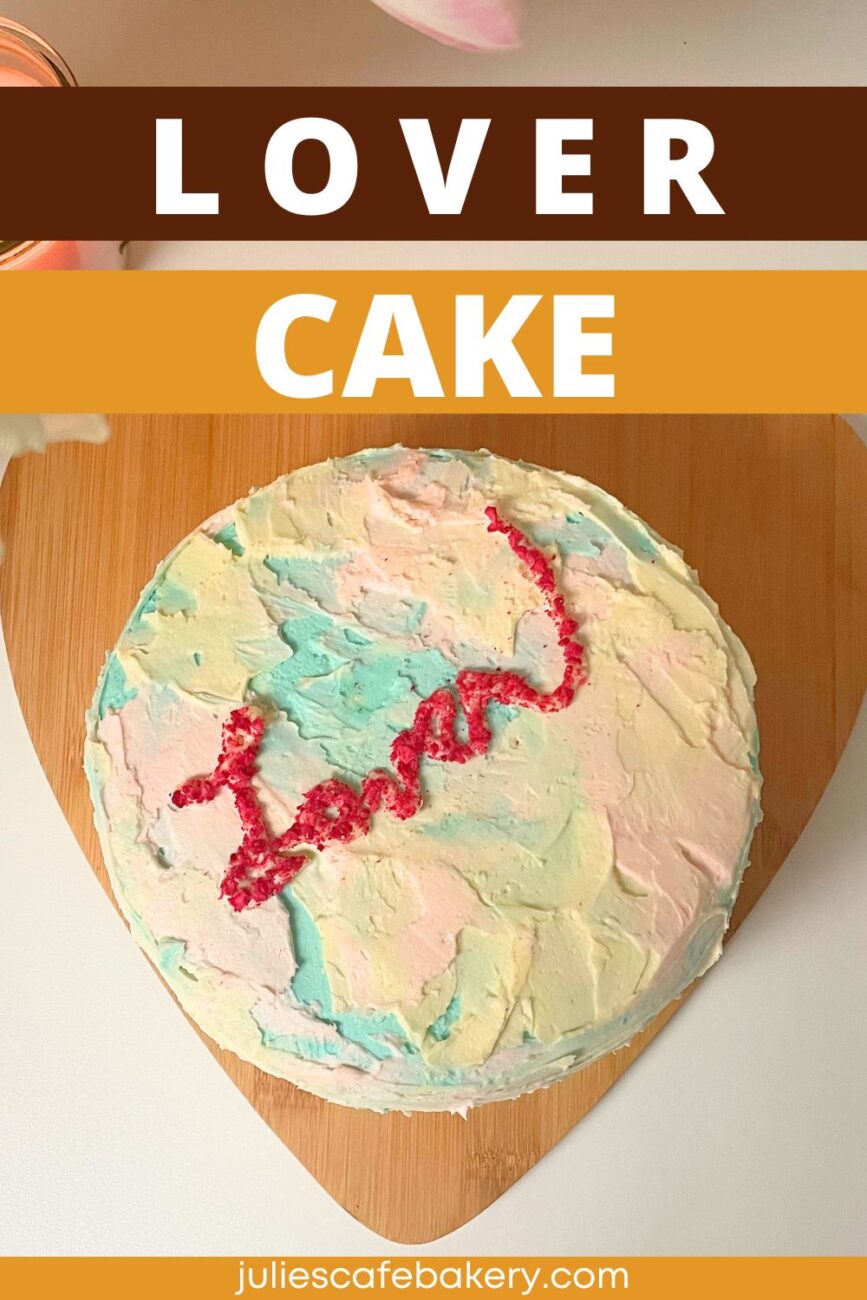
I’m not an expert in cake decorating, so I usually make tarts and cheesecakes, but this one is such a fun and easy cake to garnish. You will need a few minutes to mix up the colors and that’s the hardest part. It has all my favorite spring colors, blues, pinks, and yellows. Making Taylor Swift-themed cakes for a living wasn’t on my wish list this year, but I’m not complaining, AT ALL! So, listen to the Lover album while making the Lover Cake following my recipe.
Why Will You Love this Recipe?
- Perfectly Spongy: This is the lightest and airiest sponge cake ever. The texture is divine – soft, moist, and delicate. Made with all the basic ingredients, it is renewed for simplicity. My secret ingredient is Greek yogurt which skyrockets the sponge consistency and adds a touch of tanginess. This makes it perfect to pair with anything you can imagine!
- Decadent Frosting: White chocolate buttercream is one of the finest frosting out there. It has a creamy, luxurious texture and incredibly rich flavor. Due to both chocolate and sugar in the recipe, it can come off a tad too sweet. To avoid that, add some salt while mixing and enjoy the incredible taste. It is pale and velvety which makes this buttercream the perfect base to add some color.
- Pastel Colors: I tried to replicate the colors from the Lover album cover and they turned out pretty amazing. The best thing is you don’t need any special decorating skills, as it is super charming when the frosting is not perfectly smooth.
- Flavor Rhapsody: The taste is sweet and rich, so you’ll need something to smash that. I opted for sour cherries, which offer a tart and tangy flavor profile, balancing everything perfectly. With them, you get an ideal ratio between sweetness and acidity.
Ingredients
The list of ingredients is simple, pretty basic, I must say. I believe you have most of them ready to go in your pantry:
- Flour – I used all-purpose, but you can go with cake flour, as well
- Greek yogurt – adds moisture and tang. Change it for regular yogurt
- Eggs – responsible for the perfect sponge
- Sugar – granulated and vanilla for cake, and powdered sugar for frosting
- Oil – use flavorless oil, like vegetable or canola
- Baking powder
- Butter – use room temperature
- White chocolate– choose fine quality chocolate
- Heavy cream – to adjust the texture
- Food dye – I used liquid colorings. You’ll need pink, blue, and yellow
- Sour cherries – I used cherry compote because of stability
Tools You’ll Need
How to Make Lover Cake
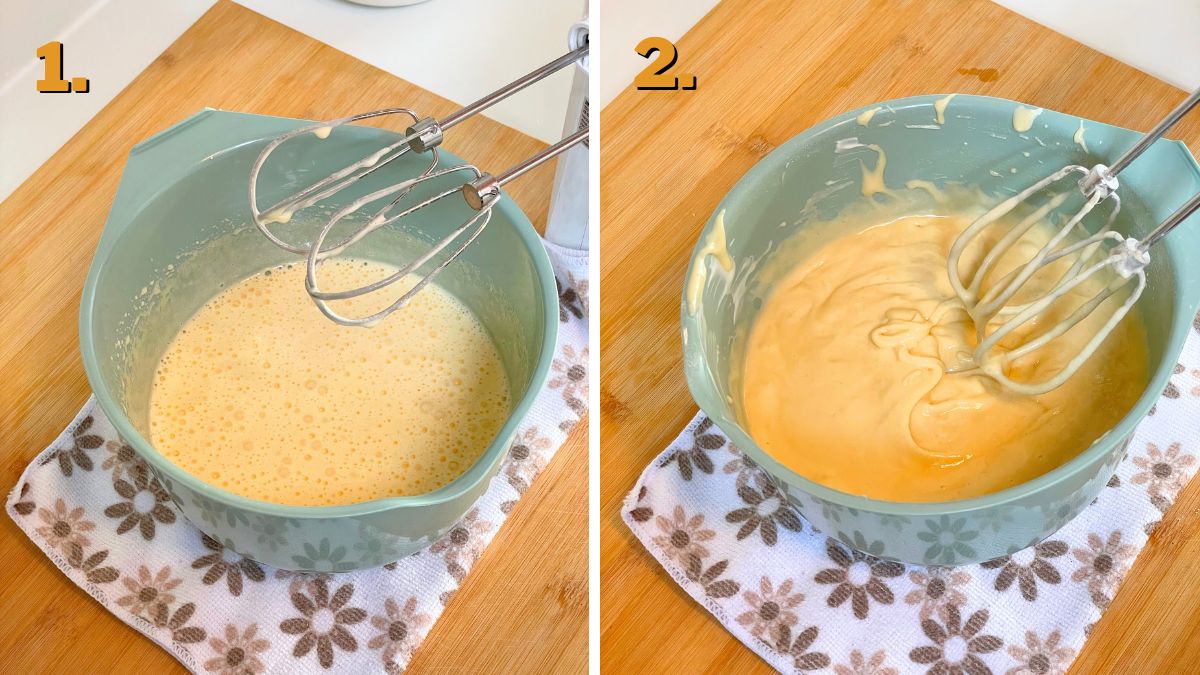
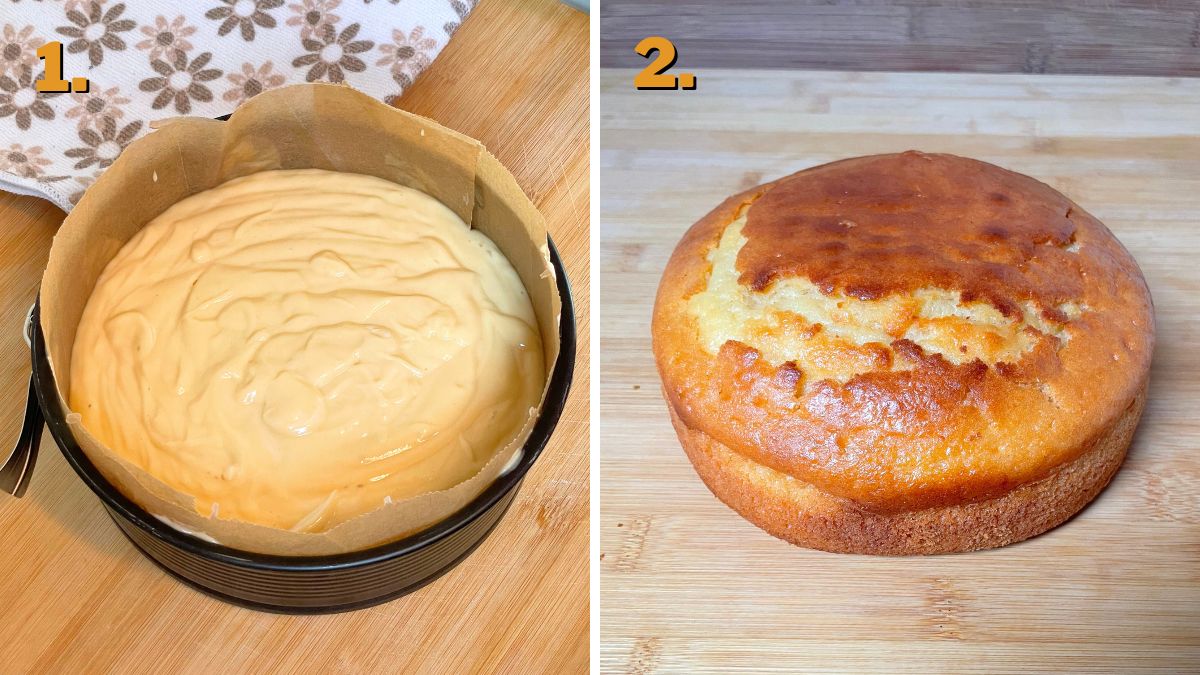
- Prepare the Cake Batter: Mix together whole eggs, granulated, and vanilla sugar for about 5 minutes until pale and double in size. Pour in Greek yogurt and oil and mix again to combine. Now, add baking powder and flour in 4 portions. Mix on low to keep the batter airy.
- Bake the Cake: Cover a cake tin with parchment paper (and the sides, as well). Pour in the batter and smack it on the countertop a few times to level it. Bake at 360 °F (180 °C) or 320 °F (160 °C) in an oven with a fan for about 40 minutes. Check the doneness with a toothpick and leave to cool in a tin for about 15 minutes. Remove from the tin. Wait for it to cool completely before assembling.
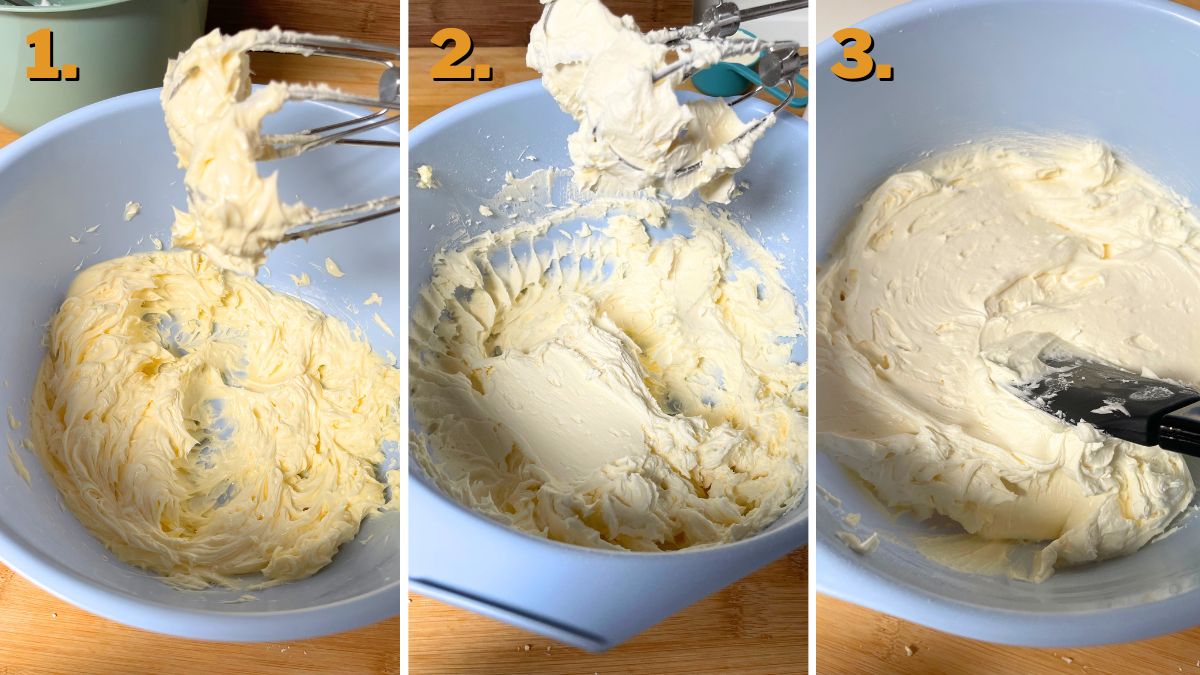
- Whip White Chocolate Frosting: Whip room-temperature butter on medium speed for about a minute. Set the mixer on low and start adding powdered sugar while mixing, tablespoon by tablespoon until it’s all gone. Turn the speed up (to medium), add melted white chocolate, and mix until silky. At the end, add vanilla extract, heavy cream, and salt. Combine.
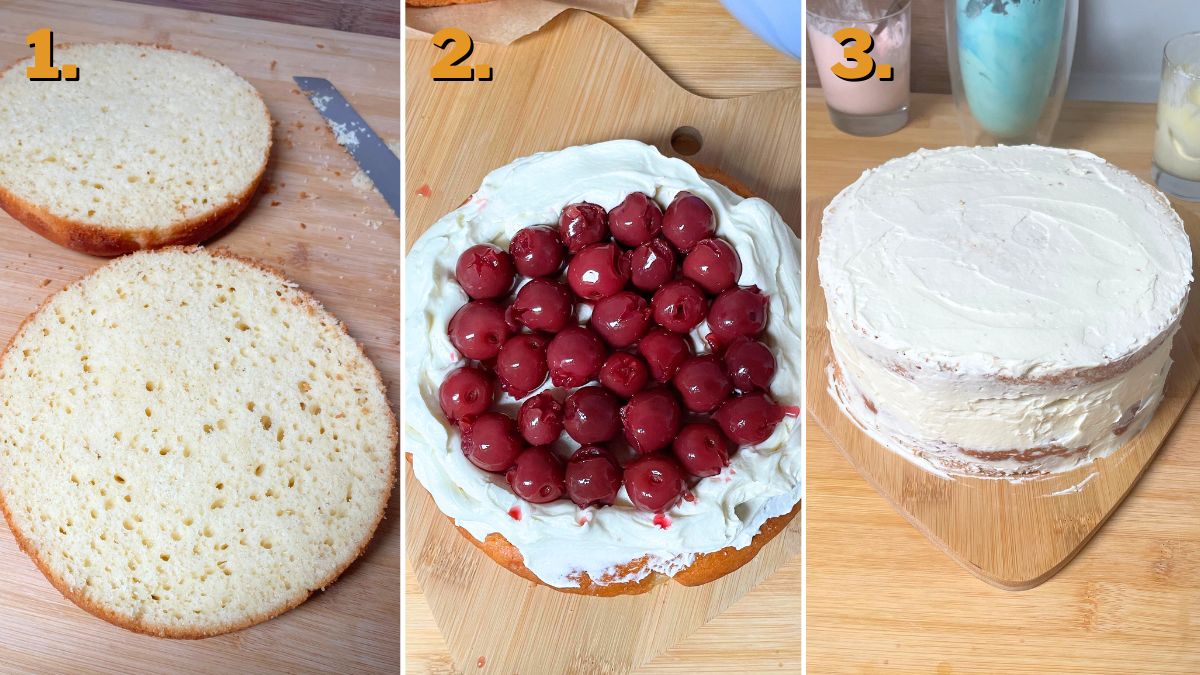
- Assemble the Cake: First, even the cake on top with a bread knife. Cut the sponge in half. Centre it on the stand/plate and coat the first layer with buttercream. Using a piping bag, border the edges of a cake, to create something like a little pool. Fill it with sour cherries. Place the other half on the top. Coat the whole cake with frosting thinly. Let it rest to stiffen.
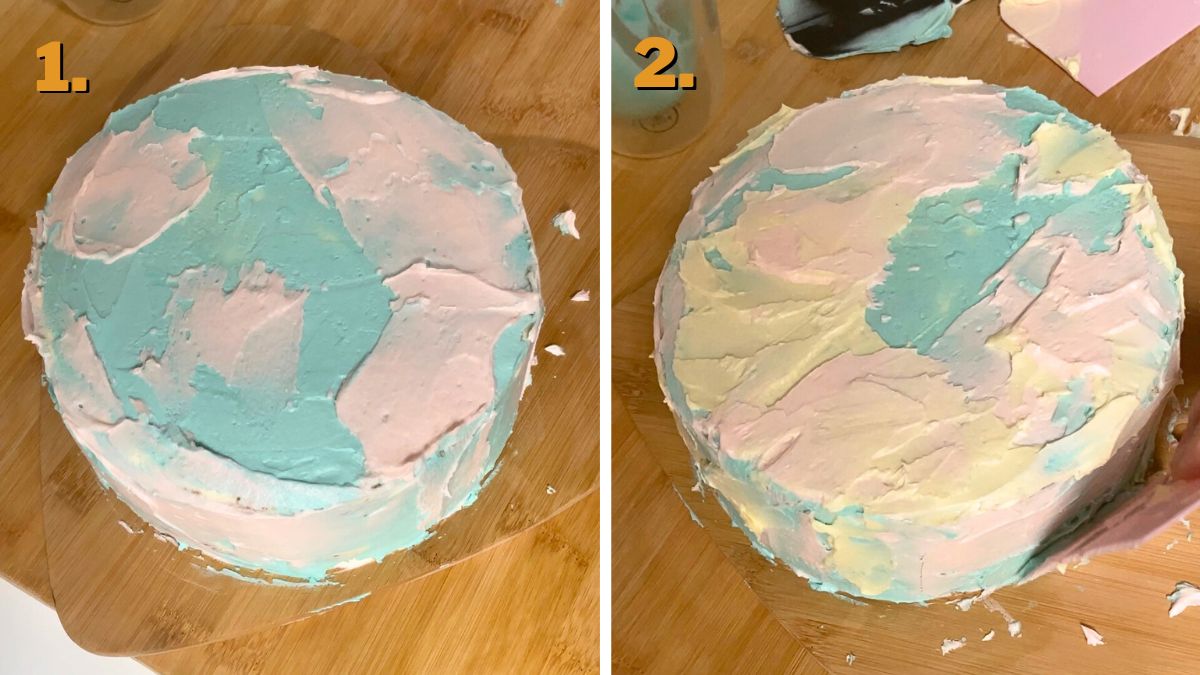
- Decorate the Cake: Divide the rest of the white chocolate buttercream frosting in three glasses. Add different colors in each and combine well. I wanted pastel shades, so I added just a dab. Coat the cake with blue very thinly and smear pink and yellow all over. Use about a teaspoon of pink and yellow frosting to smooth out at the moment.
- Make the Topper: Write anything you want on parchment paper and drizzle melted white chocolate over it. Dust with glitter or dehydrated berries powder. Toss into the freezer for 5 to 10 minutes. Carefully peel the baking paper and center the topper.
Recipe Alternations
- Change the Fruit: I opted for sour cherries to add some tang, but any berry would be smashing. You can use fresh fruit, compote, jam, or sauce. Anything is good.
- Change the Flavor: I wanted a classic vanilla sponge, but chocolate cake is perfect with cherries, as well. Add some cocoa and dark chocolate in the batter and call it a day!
- Change the Buttercream: If you want something less sweet, I definitely recommend making Swiss meringue buttercream. Any other frosting choice you fancy will work like a charm. Just keep in mind to keep it pale so the colors can pop.
Tips
I’m not a cake expert and still, this one turned out FLAWLESS! Most importantly, it looks fantastic and the frosting is completely beginner-friendly. Here are some tips:
- Cool the Sponge: I recommend making the cake a day before, so it can cool overnight. It will be so much easier to cut and won’t crumble at all. When it’s room temperature or slightly warm, swathe it well in plastic foil and keep it on the counter or in the fridge.
- Chill Melted Chocolate: Don’t add piping hot melted chocolate to the buttercream. It will also melt the butter, so your frosting won’t set properly. Melt it and leave it to cool for about 15 minutes before assembling.
- Use Cherry Compote: When using a compote, the cherries are obviously already drenched in juice, so the cake will be super moist! The juice drips will be absorbed by the sponge, so you won’t have to worry about it drying out.
- Do the Crumb Coat: The crumb coat is my new favorite thing. It takes a minute and makes the cake look so much better at the end. Use a few tablespoons of buttercream to coat the cake, so it will seal all the potential crumbs. The final frosting will be amazing!
- Freeze the Cake: After you crumb-coated the cake, pop it in the freezer for about half an hour for it to stiffen. You will be able to effortlessly frost it at the end as buttercream will stick much better.
- Make the Thicker Topper: When writing with melted chocolate, make sure to shape the letters with a few layers of chocolate. It will be easier to transfer on the cake like that, as it won’t crack in half.
Storing Instructions
- Use Plastic Foil: Wrap the sponge in plastic foil as soon as it’s cooled down. Never leave it in the open, as it could dry out.
- Refrigeration: Refrigerate the whole cake or a sponge only for up to 5 days. Keep the sponge as noted above and the whole cake in a cake stand or airtight container.
- Freezing: Both a sponge and a cake will be good to freeze for about 3 months. If you’re freezing leftovers, slice them in advance. To thaw the cake, leave it in the fridge overnight to defrost gradually.
Other Recipes You’ll Love
- Blank Space Cake
- Cherry Blossom Cupcakes
- Heart Cake with Cherries
- Cherry Pie Filling Bundt Cake
- Black Forest Cupcakes

Lover Cake
Ingredients
For the Cake
- 3 eggs
- 2 cups all-purpose flour
- 9 oz Greek yogurt
- 4 oz vegetable oil
- 1 tbsp baking powder
- 1 tbsp vanilla sugar
For the Frosting
- 1 cup butter (at room temperature)
- 6 oz white chocolate
- 2 cups powdered sugar
- ¼ cup heavy cream
- 1 tsp vanilla extract
- ¼ tsp salt
- food dye
Additional
- 1 cup sour cherries
For the Topper
- 1 oz white chocolate
- 1 tbsp dehydrated berries (grounded)
Instructions
Prepare the Cake Batter
- Mix together whole eggs, granulated, and vanilla sugar for about 5 minutes until pale and double in size.
- Pour in Greek yogurt and oil and mix again to combine.
- Add baking powder and flour in 4 portions. Mix on low speed. It should be smooth and thick.
Bake the Cake
- Cover a cake tin with parchment paper (and the sides, as well). Pour in the batter and smack it on the countertop a few times to level it.
- Bake at 360 °F (180 °C) or 320 °F (160 °C) in an oven with a fan for about 40 minutes.
- Check the doneness with a toothpick and leave to cool in a tin for about 15 minutes. Remove from the tin. Wait for it to cool completely before assembling.
Whip White Chocolate Frosting
- Whip room-temperature butter on medium speed for about a minute.
- Set the mixer on low and start adding powdered sugar while mixing, tablespoon by tablespoon until it’s all gone.
- Turn the speed up (to medium), add melted white chocolate, and mix until silky. At the end, add vanilla extract, heavy cream, and salt. Combine.
Assemble the Cake
- First, even the cake on top with a bread knife. Cut the sponge in half. Centre it on the stand/plate and coat the first layer with buttercream (use about 3 tablespoons of frosting).
- Using a piping bag, border the edges of a cake, to create something like a little pool. Fill it with sour cherries.
- Place the other half on the top. Coat the whole cake with frosting thinly. Let it rest to stiffen.
Decorate the Cake
- Divide the rest of the white chocolate buttercream frosting into three glasses. Add different colors in each and combine well.
- Coat the cake with blue frosting very thinly and smear pink and yellow all over. Use about a teaspoon of pink and yellow frosting to smooth out at the moment.
Make the Topper
- Write anything you want on parchment paper and drizzle melted white chocolate over it. Dust with glitter or dehydrated berries powder. Toss into the freezer for 5 to 10 minutes. Carefully peel the baking paper and center the topper.
Before diving into the nutritional details, please review our Nutritional Disclaimer page for important context and clarifications.
