
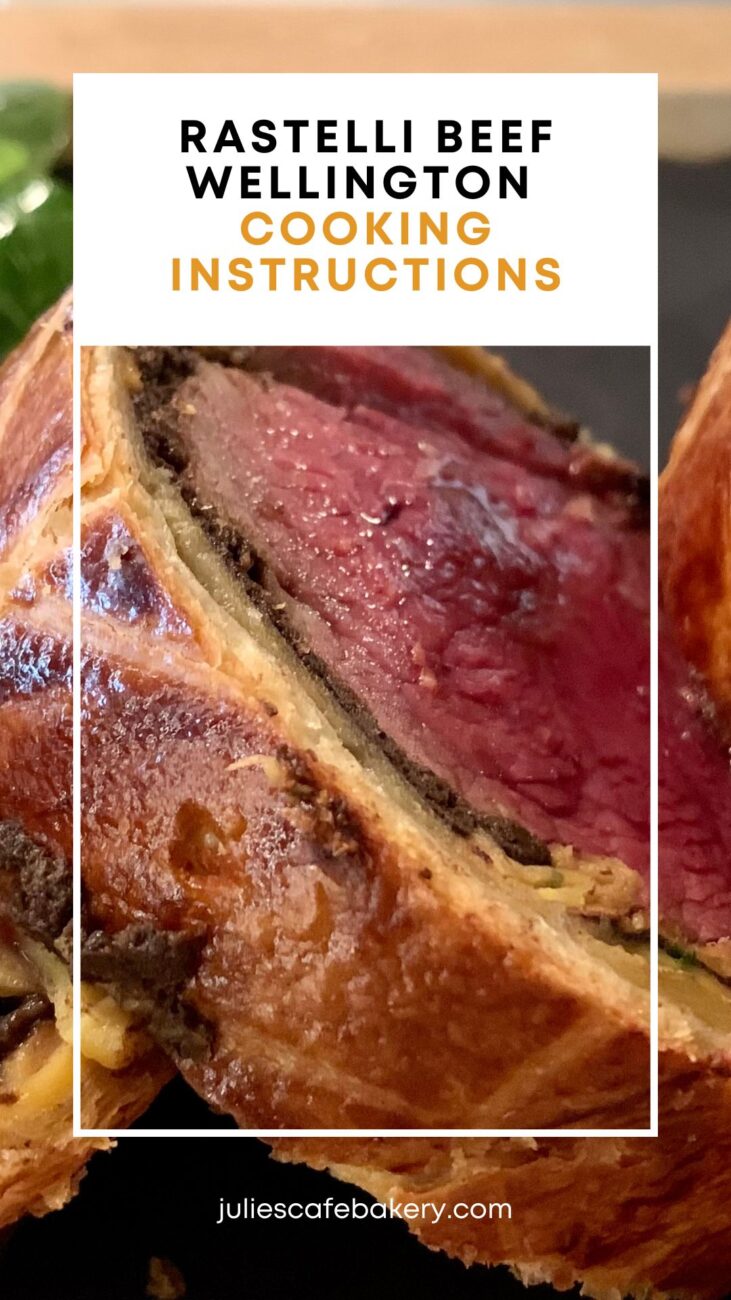
Rastelli Beef Wellington Cooking Instructions & Serving Ideas
Rastelli Beef Wellington has always been a love of mine, but getting the pastry right was always a challenge. Not only does the pastry need to be just perfect, but it also needs to be perfectly wrapped around the meat, baked perfectly, and finally, easy to handle.
As much as I adore cooking, it always seemed like risky work, which is why Rastelli Beef Wellington was the hero that saved my day.
How to Cook Rastelli Beef Wellington?
You get Rastelli Beef Wellington all set up and wrapped up, quite literally, and your job is only to cook it. It not only saves up time and energy, but the result is unparalleled, and believe me, it will probably turn out better than your homemade from-scratch version.
Ideal for beginners with a knack for gourmet food but also for pros who would love a chance to dine finely without all the trouble, Rastelli Beef Wellington is among the top five partially done dishes on my list. The preparation method is very simple, and you don’t really need special skills or equipment.
So, slap a smile on your face, grab a baking tray and some parchment paper, and use the most basic cooking skills, even if you are a highly skilled cook.
Step 1: Cooking From Frozen
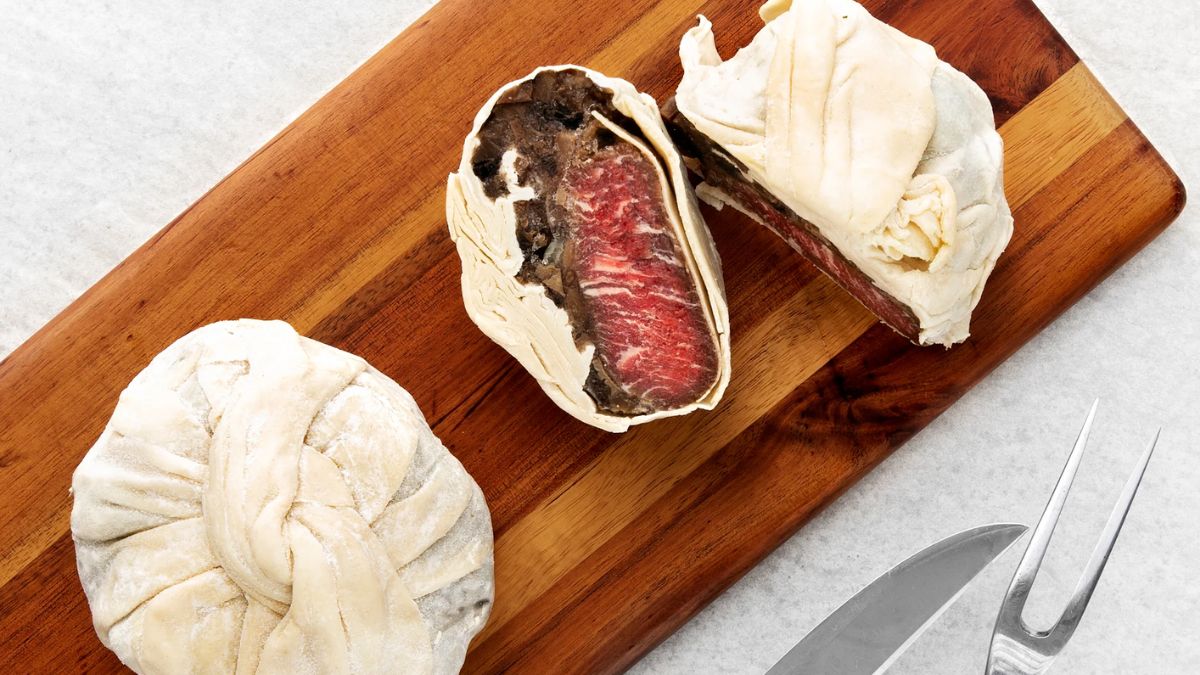
Since you get your Rastelli Beef Wellington frozen, your first instinct might be to let it thaw before cooking it. You would be right in most cases, but this is an exception. If you thaw Rastelli Beef Wellington, the dough and the meat will soften, creating a moist and soggy meal that will be difficult to handle.
So, my advice to you would be to cook from frozen. Believe me, I’ve done this multiple times, and in a few instances, I made the mistake of letting the dish thaw.
Cooking from frozen makes things easier because it saves time and also makes it possible to cook as much as you intend to eat. Since frozen, it is easy to cut; you can just cook as many slices as you want and leave the rest in the freezer for another time.
I don’t recommend you season the dish either because it is already seasoned and flavored.
Step 2: Preheating the Oven
Preheat your oven to 200 °C, i.e., 400 °F. Rastelli Beef Wellington requires a hot oven to bake properly. If you don’t preheat the oven or the oven temperature is not high enough, you risk leavening the dough, which will result in poor quality.
So, make sure to give the oven enough time to preheat. I usually allow half an hour for this, but your oven may need more or less time.
Step 3: Baking & Resting
Time to bake! Baking may seem like something that does by itself, but you play a major part in its success. First, layer your baking tray with parchment paper. A common mistake people make is greasing the parchment paper, which isn’t necessary.
The beef will release juices, and there will be more than enough grease. The parchment paper is non-stick, so your Rastelli Beef Wellington will neither be dry nor will it stick.
Place the beef Wellington carefully on the baking tray and place it on the middle rack in your oven. This is crucial, and it doesn’t tolerate inaccuracy. When it comes to baking where there’s dough involved, the heat must come equally on all sides.
Bake for about 30 to 35 minutes, and once the time is up, remove the dish from the oven. Don’t let the Rastelli Beef Wellington rest inside the oven because it will get soggy and overly moist. The dough will absorb the steam from the oven, and you will end up with a poorly cooked meal.
I’ve made this mistake, so I know first-hand that you don’t want that to happen. Once you remove the dish from the oven, let it rest on the counter for at least ten minutes.
Step 4: Make a Special Mushroom Sauce
Although step 3 is the final step of Rastelli Beef Wellington’s cooking process, another step will make your experience even better. Just because you don’t need to spruce up this decadent dish doesn’t mean that you can’t or shouldn’t.
Whip up a special mushroom and pickle sauce to spread onto the delicious beef Wellington slices. I usually go with fresh champignons, but you can use any type of mushroom you like, marinated or fresh.
Chop the mushrooms and pickles and sauté them together. Add salt, pepper, and powdered garlic. Once the ingredients have softened and released excess moisture, add cooking cream and let them simmer for ten minutes.
Once the sauce is ready, grate some parmesan or Gouda to make it even richer. Serve your Rastelli Beef Wellington with a few spoons of this delicious sauce on the side or on top.
What to Serve with Rastelli Beef Wellington?
Rastelli Beef Wellington is very easy to pair. Since it is such a delicious and rich dish, the pairings can be as simple as you want because it will, in no case, lack substance. You can, of course, make a complex side, but you don’t have to; that’s what I’m trying to say.
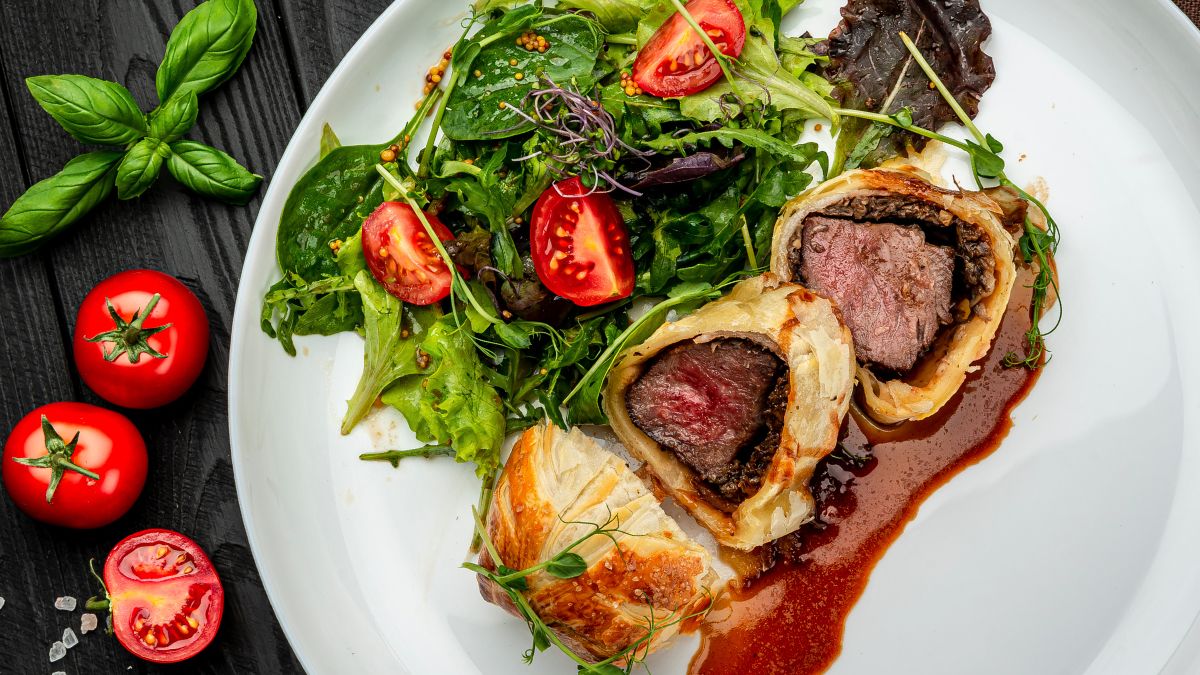
I prefer Rastelli Beef Wellington with a mushroom sauce, but it isn’t the only side to pair it with. Still, I recommend you go with a creamy side and a green salad. For example, make mashed potatoes and arugula salad.
Creamed spinach and creamed corn are also great sides for Rastelli Beef Wellington. Creamy soups, such as French onion soup or creamy tomato soup, are great ways to add even more flavor.
I don’t advise you to pair it with rice because it won’t add flavor, and it will be heavy on the stomach. If you want something starchy, you can go with roasted potatoes topped with melted cheese.
Speaking about melted cheese, it’s an excellent way to elevate your Rastelli Beef Wellington. In a nutshell, keep the sides creamy and enjoy!
How to Store Leftovers and Reheat Them?
When it comes to storage, you have two options-the fridge and the freezer. If you want to refrigerate your leftovers, wrap them in a plastic wrapper and pop them in an airtight container. The fridge will keep them safe for up to five days.
For longer storage, use the freezer. Again, wrap the leftovers and place them in an airtight container. Stored this way, they should be good for up to three months. Now, I have to say that Rastelli Beef Wellington doesn’t last for three months in my house, as I finish everything in the first two days, but freezing is still a good long-term storage option.
I use the oven to reheat Rastelli Beef Wellington, though you can use the microwave too. Still, I advise you to go with the oven since the microwave can make it soggy. Pop it in the oven for 15-20 minutes at 150 °C, i.e., 300 °F, and it will be as fresh and as delicious as freshly made.
How did you like this dish? Let me know in the comments below!

Rastelli Beef Wellington and Mushrooms
Equipment
- Baking tray
- Parchment paper
- Saucepan
Ingredients
- 1 piece Rastelli's Beef Wellington
For the Sauce
- 2 mushrooms (medium; I usually use button mushrooms)
- ½ cup pickles
- ½ cup cooking cream
- 2 tbsp grated parmesan
Instructions
Preparing Your Beef Wellington
- Preheat your oven to 200 °C, i.e., 400 °F. I usually allow half an hour for this, but your oven may need more or less time.
- Layer your baking tray with parchment paper. A common mistake people make is greasing the parchment paper, which isn't necessary.
- The beef will release juices, and there will be more than enough grease. The parchment paper is non-stick, so your Rastelli Beef Wellington will neither be dry nor will it stick.
- Place the beef Wellington carefully on the baking tray on the middle rack in your oven. This is crucial, and it doesn't tolerate inaccuracy. When it comes to baking where there's dough involved, the heat must come equally on all sides.
- Bake for about 30 to 35 minutes, and once the time is up, remove the dish from the oven. Don't let the Rastelli Beef Wellington rest inside the oven.
- I’ve made this mistake, so I know first-hand that you don’t want that to happen. Once you remove the dish from the oven, let it rest on the counter for at least ten minutes.
Making the Sauce
- Chop the mushrooms and pickles and sauté them together. Add salt, pepper, and powdered garlic. Once the ingredients have softened and released excess moisture, add cooking cream and let them simmer for ten minutes.
- Once the sauce is ready, grate some parmesan or Gouda to make it even richer. Serve your Rastelli Beef Wellington with a few spoons of this delicious sauce on the side or on top.
Before diving into the nutritional details, please review our Nutritional Disclaimer page for important context and clarifications.