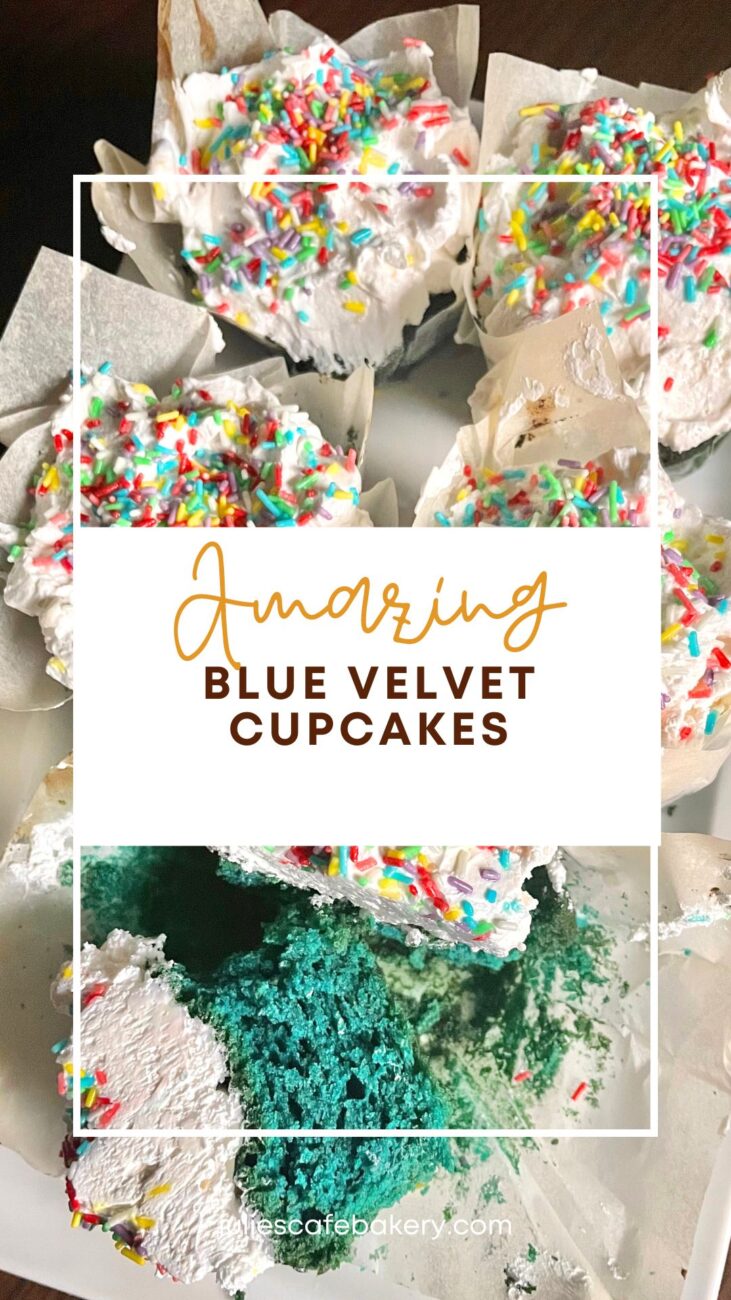
Amazing Blue Velvet Cupcakes Recipe
If you‘re searching for perfect party treats – I got you! I made these for my nephew’s birthday because he’s obsessed with Smurfs and they fit the theme impeccably. Blue Velvet Cupcakes are as amazing as they sound, as they have both – the taste and good looks.
They don’t have to be reserved for kid’s birthdays only, though, as the relish is just like classic red velvet cake, slightly tangy and rich. They kept their signature texture, as well, a bit crumbly and moist, the single difference is the color. I love the fact that red velvet cake can be a cupcake, too, and it won’t change at all! Read on for the full recipe!
Color and taste alterations
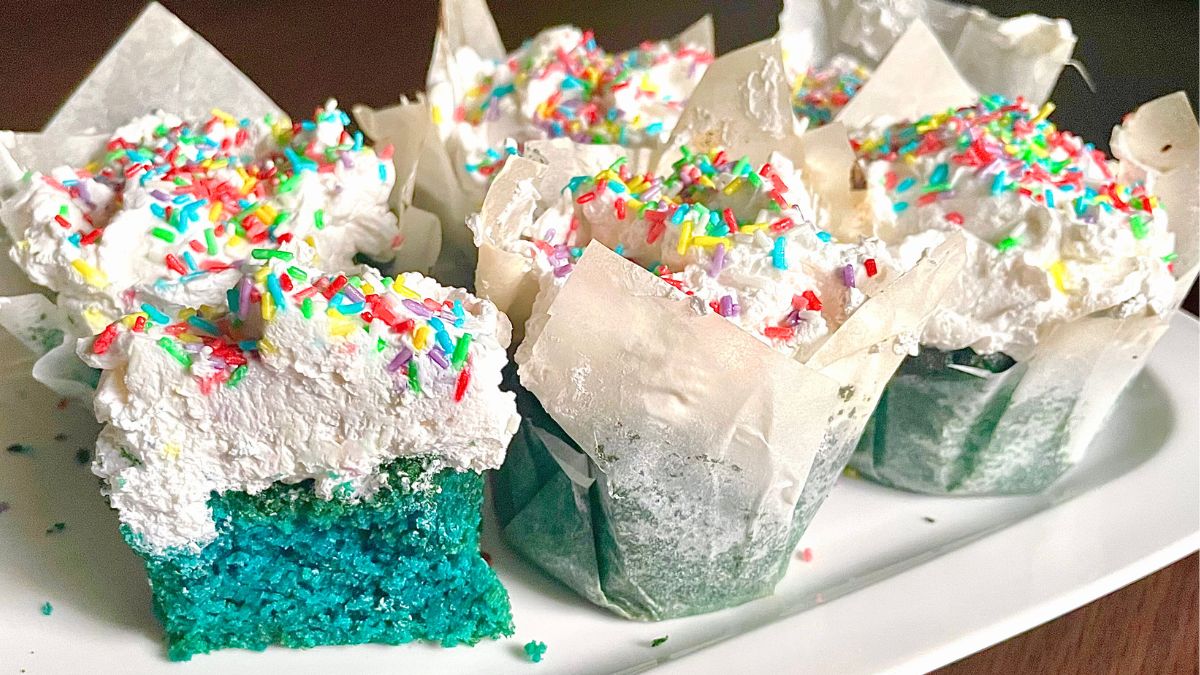
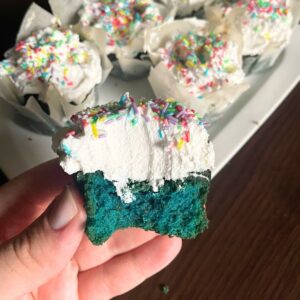
When it comes to color, the bright blue is very tricky to achieve. It’s all fun and games before baking, but it tends to become a bit grayish-brownish on top in the process. Blue will turn out a few shades darker, so keep that in mind, and don’t add too much to start with. I went for sky-blue batter and got darker, vibrant blue later – the cross-cut is gorgeous, just as I wanted it to be.
I chose classic cream cheese topping, but I want to try it with vanilla buttercream next time, I think it would be awesome. Cocoa in the batter makes a fine base for building a chocolaty flavor, so I guess, choco-chunks wouldn’t be so bad either. Next time I want to add some crunch, so I’m thinking of crushing a few Oreo cookies and adding them to the batter. Can’t wait for the second batch!
How to make amazing blue velvet cupcakes?
Cupcakes are so much easier to make than the whole cake, right? Speaking of ingredients, they are completely the same as for the red velvet cake, minus the color. Here is the list of everything you need!
- Flour – I used cake flour, as it keeps the moisture in more than regular flour. All-purpose flour is also a good option, but the cake will be slightly crumblier, but nothing to worry about.
- Buttermilk – Buttermilk is the staple ingredient in red velvet cake. If you can’t find it, you can make your own by mixing regular milk and lemon, but it will be more watery than the original. Plain yogurt has a better consistency but lacks a bit of tang.
- Eggs – Eggs will bind the batter and give it a bit of sponginess.
- Sugar – I use regular sugar in the batter and confectioners in frosting. I find it easier to mix into the silky cream.
- Cream cheese – I like to use Philadelphia cream cheese, but really, any other you fancy is superb!
- Butter – Butter is a big deal in velvet cake, as you need it for both crust and frosting. It has an influence on the texture and taste, but without making cupcakes too greasy or strong.
- Cocoa – Go for good quality cocoa because it genuinely makes a difference. It is a superior base to build the flavor around.
- Vanilla – A splash of vanilla boosts the flavor of cupcakes and topping with its warm aroma.
- Vinegar – Vinegar gives more zing and wakes up baking soda. I went for white wine vinegar.
- Baking soda – Baking soda acts like a leavening agent paired with vinegar. This duo is responsible for the distinctive tangy flavor along with other ingredients. If you find this a bit overwhelming, simply go for baking powder.
- Salt – A pinch of salt to enhance cocoa flavor and tenderize the cake – simple, but effective.
- Food dye – I used a powdered blue color, and it turned out beautiful. If you’re going to use gel color, I recommend adding a smudge of violet, as well, to balance the shade.
Let’s get into baking!
Step 1: Making the batter
I like the fact you only need one dish and a mixer for this one. There is just an order of adding ingredients to follow, nothing else.
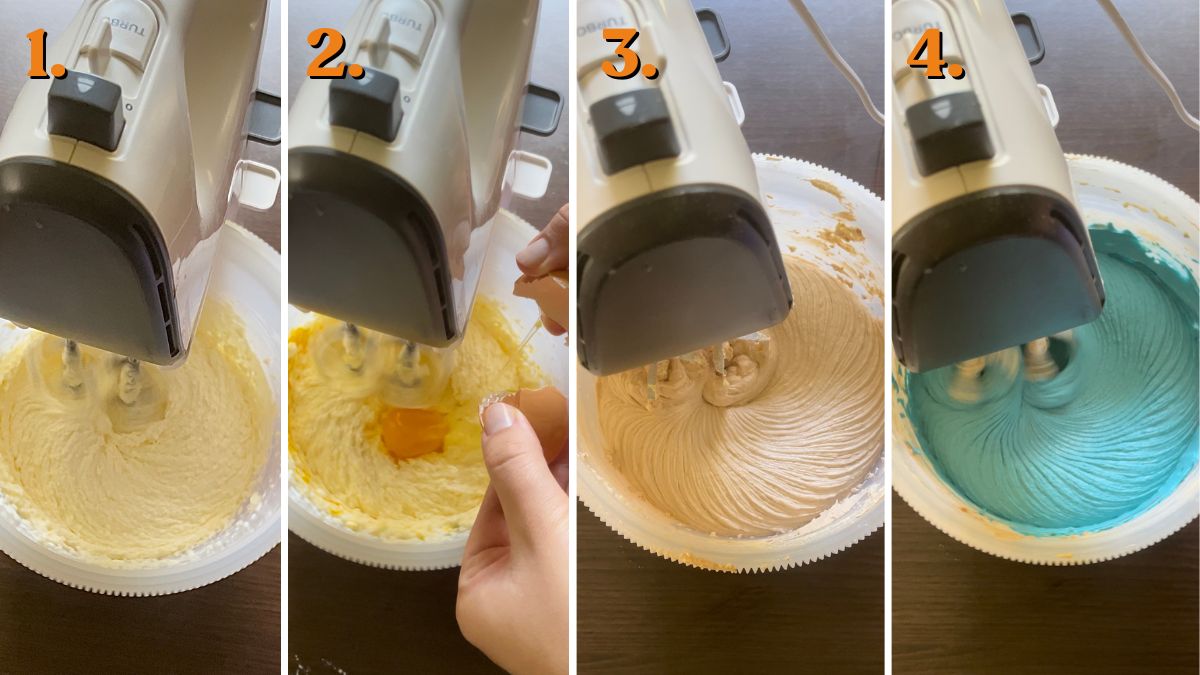
Combine sugar and softened, room-temperature butter and mix until pale, fluffy and smooth. This will take a few minutes. Now, it’s time to add eggs, one at a time, just make sure to blend well after each egg.
Stop the mixer and sift the dry ingredients in one separate bowl: flour, cocoa, and salt. There goes my previous statement about needing one bowl only… Just, it will be easier and mess-free to add them gradually with buttermilk like this. Add a few tablespoons of powdered ingredients to the creamy mixture, follow with a splash of buttermilk, and fuse them perfectly.
Repeat this process until you combine everything. The batter will be more paste-like, but silky, dense enough to scoop it into the tin – that’s exactly what you’re aiming for. Now goes the fun part – adding the color!
Don’t shut down the mixer when adding color and start small. Sprinkle a pinch by a pinch of food dye until you achieve the perfect shade, but remember it will turn a bit darker in the baking process. My powdered dye packet caught the moisture somewhere and turned to the block, so I had to dilute it with a dab of water.
It really didn’t influence the texture as it is just a few droplets, though. To finish everything, mix in a splash of vanilla, as well. Last, but not least – combine vinegar and baking soda into the cup, give it a quick stir, and add to the batter.
Mix about 30 seconds with a mixer to meld everything and that would be it!
Step 2: Baking
360 °F (180 °C) is the perfect baking temperature. While the oven heats, prepare the cupcake tin. My favorite trick is to use baking paper instead of regular, perfect cupcake liners – I love the high, wrinkled edges. You can do what you like the best, of course.
Scoop the batter into the cupcake molds, filling 2/3 full, so they can bake nicely and still hold the shape on top. Bake them for 20-25 minutes, but check the center with a toothpick. They are good when it comes out clean or with a few crumbs.
Don’t worry because the cupcakes will be soft when fresh from the oven, but they will stiffen later. Transfer them from the tin on the wire rack and let them cool completely before frosting. It’s important so it doesn’t melt.
Step 3: Making the frosting
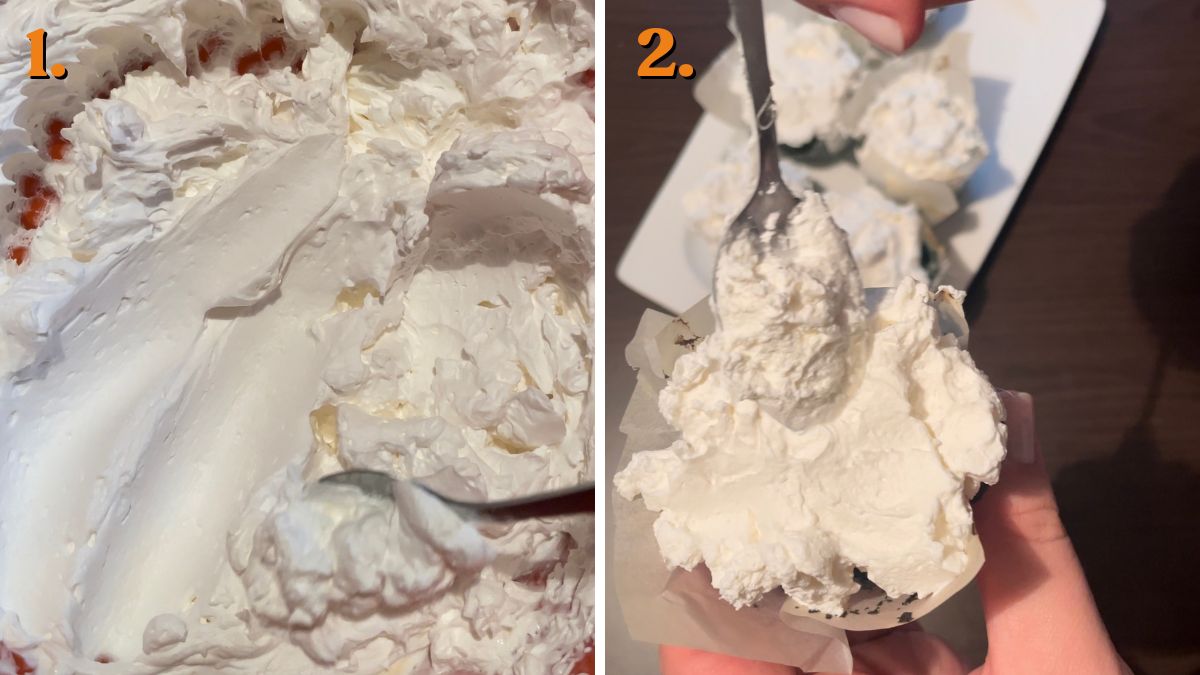
In a bowl, beat cream cheese, room-temperature butter, and a splash of vanilla. Merry the ingredients well, until you have a creamy, silky texture. The last ingredient is powdered sugar – add it one tablespoon at a time while mixing constantly on low.
When you add all the sugar, turn the mixer on high speed and mix again to achieve a fluffy, cloudy look. It will look amazing on top of the cupcakes!
Step 4: Decorating the cupcakes
I love to keep it rustic here! I just take about 2 tablespoons of frosting and smear it on top, so it looks a bit messy. You can pipe it for the more out-of-store look, as the frosting is super creamy and very easy to handle.
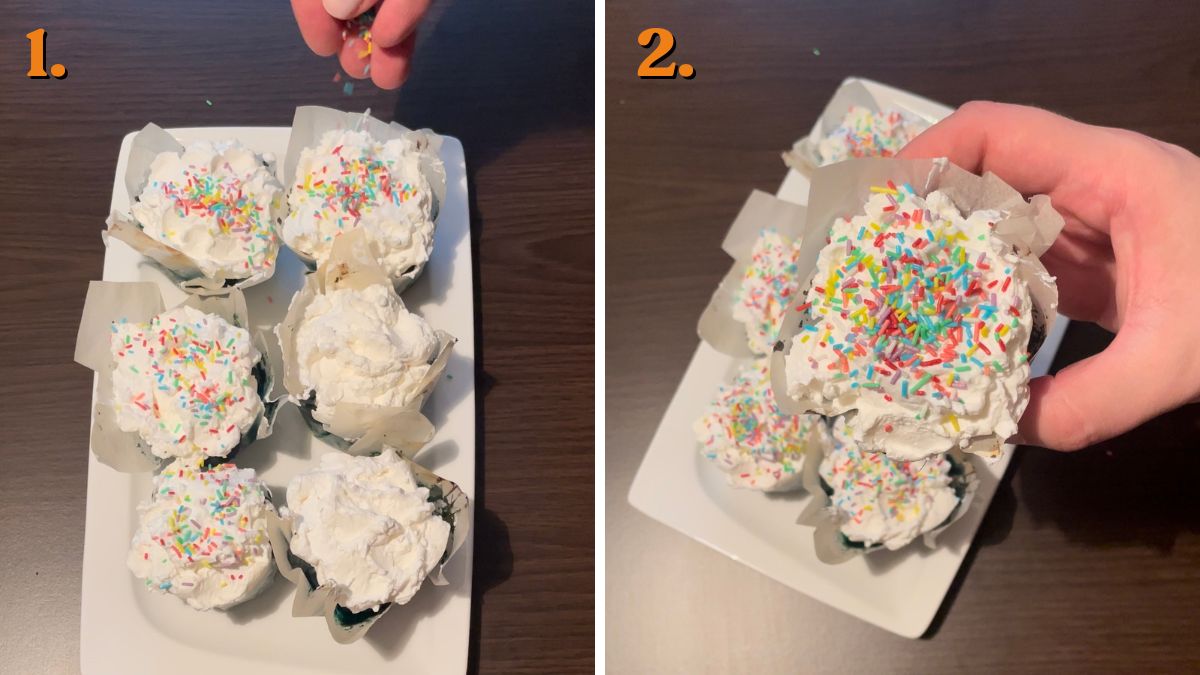
Take a generous amount of sprinkles and top the cupcakes. Who doesn’t love sprinkles, right?!
How to store these cupcakes?
The best option for keeping these cupcakes moist is storing them in an airtight container. You can leave them at room temperature or fridge for about 3 days. If they are already frosted, I never leave them on the countertop, though, because of the cream cheese.
If you’re planning on frosting them later, simply keep the topping refrigerated and store the cupcakes out. You can wrap them into plastic foil like this, as it’s the best to keep them fresh. I usually do this when making a bigger batch. 🙂
Hope you will like these cupcake as much as we did. Let me know who will you bake them for in the comments below! 🙂
Amazing Blue Velvet Cupcakes
Equipment
- 1 Mixer
- 1 cupcake tin
Ingredients
Cupcake Batter
- 2 cups sugar
- ½ pound butter (2 sticks)
- 2 eggs
- 2 ½ cups cake flour
- 1 tbsp cocoa powder
- 1 tsp salt
- 1 cup buttermilk
- 1 tsp vanilla extract
- 1 tsp powdered blue dye
- ½ tsp baking soda
- 1 tbsp white wine vinegar
Frosting
- 1 pound cream cheese
- ½ pound butter (2 sticks)
- 1 tsp vanilla extract
- 4 cups powdered sugar
- 6 tsp sprinkles
Instructions
Making the Batter
- Combine sugar and softened, room-temperature butter and mix until pale, fluffy and smooth. This will take a few minutes.
- Add eggs, one at a time, just make sure to blend well after each egg.
- Stop the mixer and sift the dry ingredients in one separate bowl: flour, cocoa, and salt. Add a few tablespoons of powdered ingredients to the creamy mixture, follow with a splash of buttermilk, and fuse them perfectly. Repeat this process until you combine everything. The batter will be more paste-like, but silky, dense enough to scoop it into the tin – that’s exactly what you’re aiming for.
- Shut down the mixer and add color, but start small. Sprinkle a pinch by a pinch of food dye until you achieve the perfect shade, but remember it will turn a bit darker in the baking process.
- Mix in a splash of vanilla.
- Combine vinegar and baking soda into the cup, give it a quick stir, and add to the batter. Mix about 30 seconds with a mixer to meld everything and that would be it!
Baking
- Heat the oven to 360 °F (180 °C).
- While the oven heats, prepare the cupcake tin. Use baking paper or cupcake liners.
- Scoop the batter into the cupcake molds, filling 2/3 full, so they can bake nicely and still hold the shape on top.
- Bake them for 20-25 minutes, but check the center with a toothpick. They are good when it comes out clean or with a few crumbs.
- Don’t worry because the cupcakes will be soft when fresh from the oven, but they will stiffen later. Transfer them from the tin on the wire rack and let them cool completely before frosting.
Making the Frosting
- In a bowl, beat cream cheese, room-temperature butter, and a splash of vanilla. Merry the ingredients well, until you have a creamy, silky texture.
- Sift in powdered sugar – add one tablespoon at a time while mixing constantly on low. When you add all the sugar, turn the mixer on high speed and mix again to achieve a fluffy, cloudy look.
Decorating the Cupcakes
- Take about 2 tablespoons of frosting and smear it on top, so it looks a bit messy. You can pipe it for the more out-of-store look, as the frosting is super creamy and very easy to handle.
- Take a generous amount of sprinkles and top the cupcakes.
Notes
How to Store Blue Velvet Cupcakes?
The best option for keeping these cupcakes moist is storing them in an airtight container. You can leave them at room temperature or fridge for about 3 days. If they are already frosted, I never leave them on the countertop, though, because of the cream cheese.Before diving into the nutritional details, please review our Nutritional Disclaimer page for important context and clarifications.