
How to Cook Frozen Black-eyed Peas & Make Them Taste Better?
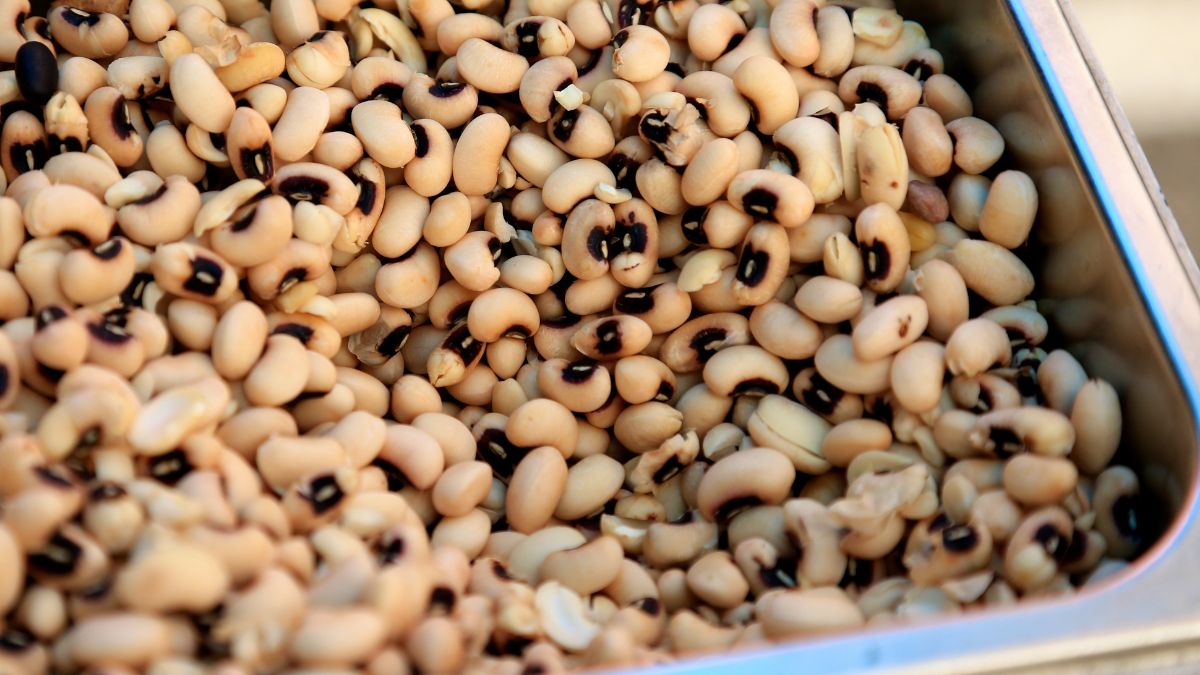
While the black-eyes pea is a humble little legume that is a staple in many cultures, it can be surprisingly tricky to cook correctly. Whether I’m using fresh or frozen, I always keep a close eye on timing and temperature in order to get the best flavor and texture out of these delicious little bites.
The key is to remember that frozen black-eyed peas are already cooked, so all you have to do is reheat them. Here’s the complete guide on how to do it — from prepping them for cooking to giving them a final touch of seasoning. I’ll share with you the tips, tricks, and best practices for making your frozen black-eyed peas taste like a million bucks!
How to Properly Cook Frozen Black-Eyed Peas?
Whether you cook them alone in boiling water or simmer them in a flavorful soup, a dish of frozen black-eyed peas can be a nutritious and convenient meal. You can make frozen black-eyed peas taste even better with the right seasonings and techniques. [1]
When it comes to cooking frozen black-eyed peas, you don’t need to defrost them before cooking. Frozen black-eyed peas are already pre-cooked and ready to eat straight from the freezer, so there is no need to do that. That said, if you do want to add more flavor or texture to your dish, you can easily do so by adding ingredients like spices or herbs during the cooking process.
To cook frozen black-eyed peas perfectly, it’s important to remember that you don’t need a lot of heat or time. Start by adding the beans to a pot of boiling water, and then reduce the heat so that it remains at a gentle simmer for about 10 minutes. This will ensure your peas stay tender and flavorful without becoming overcooked or mushy.
I always make sure to add any seasonings I want before cooking my peas: I simply throw them in boiling water initially so they have time to absorb the flavors while they cook. Doing so will not only make your frozen black-eyed peas taste better but also give them that unique restaurant-quality flavor!
Don’t forget to give your frozen black-eyed peas a good rinse before cooking them. Doing this will eliminate any dirt or grit that may be stuck to the surface of the beans. It’s not essential, but it will make for a much cleaner and tastier final dish.
To do this, simply pop your peas into a colander and give them a few rinses in cold water until all visible dirt is removed.
Once they’re suitably cleaned off, you can cook your frozen peas immediately with no other prep. Don’t forget to season and add some flavorings — don’t let your meal be bland!
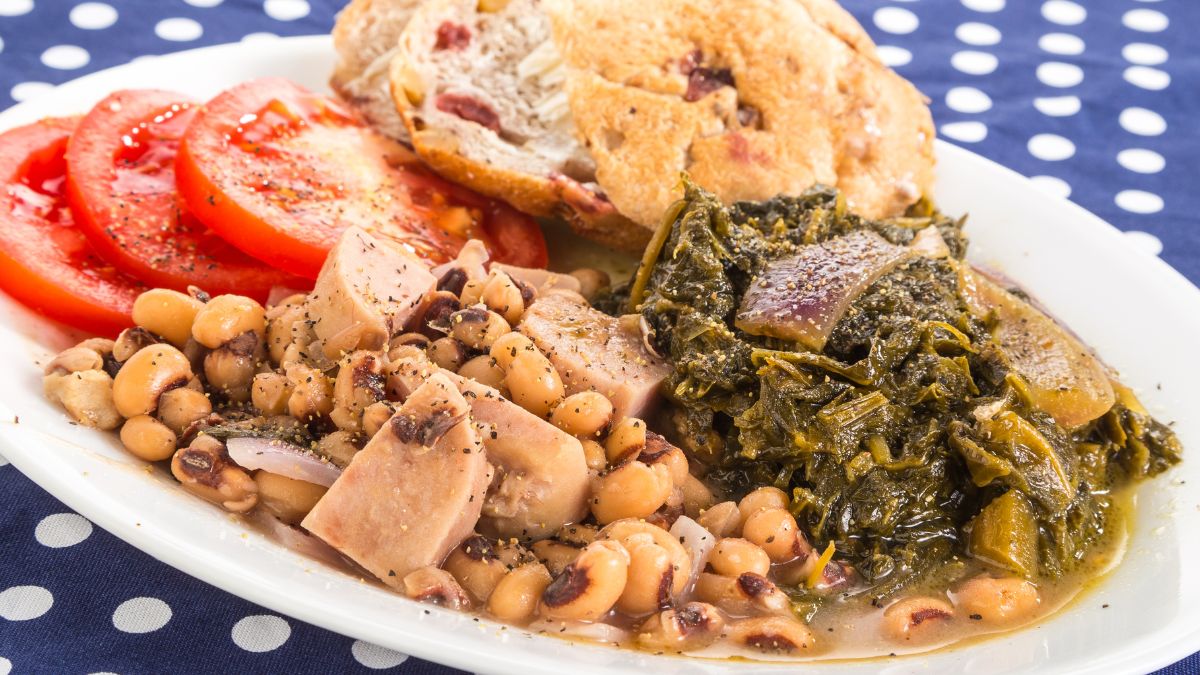
How to Add Black-Eyed Peas to a Dish?
When adding black-eyed peas to a dish, it is essential to consider whether they must be cooked separately or can be thrown in raw. If you add them to a soup, curry, or stew with a long cooking time, such as 30 minutes or more, you can simply toss the black-eyed peas into the dish without pre-cooking them.
On the other hand, if you’re working with a dish that only needs a few minutes of cooking time, such as stir-fries or salads, then it is best to cook the black-eyed peas separately in boiling water first.
Cooking Black-Eyed Peas in the Oven
There are a few methods of cooking frozen black-eyed peas that can help you get the ideal consistency and taste. One of my personal favorites is in the oven — it’s one of the simplest methods. Just preheat your oven to 350 °F (around 180 °C) and line your baking sheet with parchment paper.
Then, spread out your frozen black-eyed peas onto the baking sheet, ensuring they have a single layer that’s not too thick. I like to drizzle olive oil on top and sprinkle some salt, pepper, and garlic powder.
Bake for 10 minutes, then take them out and stir them around so they don’t stick together or burn in one place and put them back in the oven for another 10 minutes. Lastly, check if they’re cooked through by piercing them with a fork — they should be tender but not too soft!
Cooking Black-Eyed Peas in the Microwave
If you’re short on time and want to know a fast way to cook frozen black-eyed peas, the microwave is your best bet. To get started, put the frozen black-eyed peas in a microwavable bowl and add enough cold water to cover them.
Next, cover the bowl with a lid or plate and place it in the microwave. Cook them on high heat for 5 minutes and stir them before cooking for another 5 minutes.
After removing them from the microwave, be sure to drain off any excess water and season as desired.
Cooking Black-Eyed Peas in the Pan
Start by placing your frozen black-eyed peas in a pan. Add enough water to cover the peas, and season them lightly while it boils.
Once the water is boiling, reduce the heat until it reaches a gentle boil, and then boil the peas for around 15 minutes, stirring occasionally so that the peas don’t stick to the bottom of the pan.
After 15 minutes, take off the heat and drain excess water from your cooked black-eyed peas. You should now have perfectly cooked frozen black-eyed peas ready to eat or use in recipes!
What Is a Good Seasoning for Frozen Black-Eyed Peas?
When cooking black-eyed peas, there are certain simple seasonings that you can use to help enhance their flavor. Here are some easy ideas that will give your frozen black-eyed peas an extra something special.
Herbs and Spices
A great way to season black-eyed peas is to add herbs and spices directly over them. Garlicky rosemary, aromatic thyme, musky oregano. All of these can make a huge difference in the taste of your black-eyed peas. You can also amp up the flavor with cumin, chili flakes, and smoked paprika for a smoky flavor.
Citrus Juice
Citrus juice is one of those little things that people often overlook when it comes to seasoning their food. A splash of lemon or lime juice is a great way to add brightness and slight acidity without overpowering the flavor of your black-eyed peas.
You could also combine citrus with herbs or spices like sage or thyme for an even more intense flavor.
Vinegar
Adding vinegar at the end is another effective way to season your black-eyed peas since it adds a tangy sharpness with just the right amount of acidity to contrast with the earthy flavors of the beans themselves.
Some popular kinds of vinegar that you could use include white wine vinegar, red wine vinegar, apple cider vinegar, and balsamic vinegar.
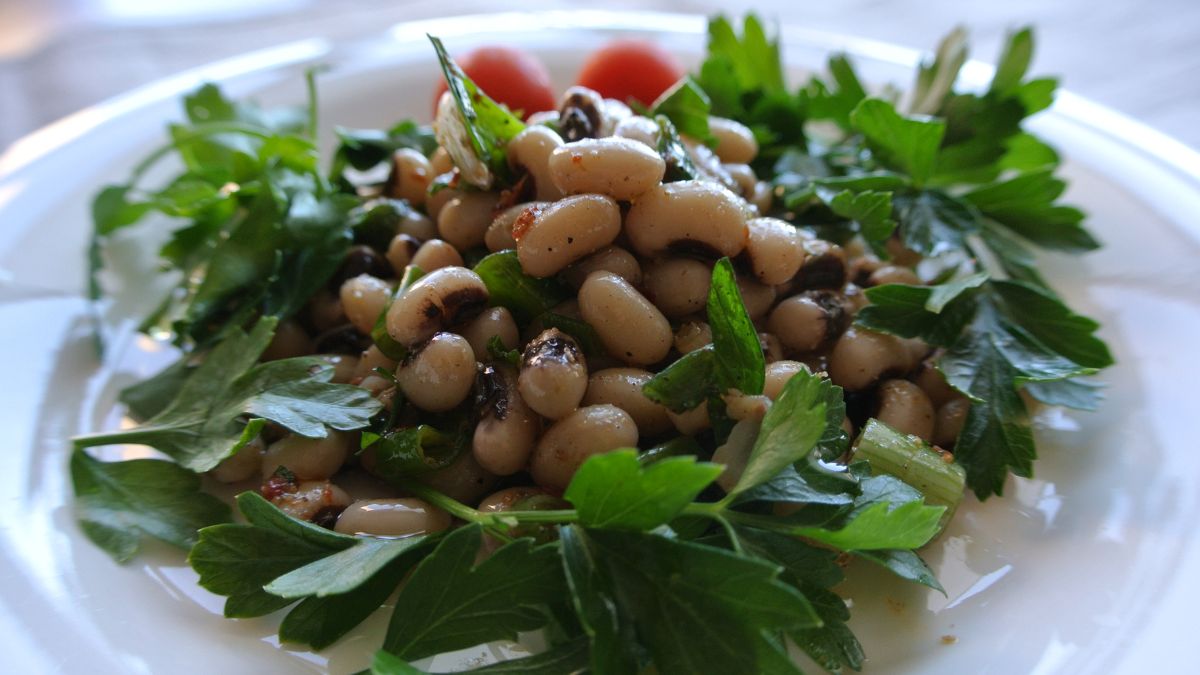
I also like to add some onion and greens — it makse a delicious salad!
How to Make Frozen Black-Eyed Peas Taste Better?
If you’ve ever cooked a batch of frozen black-eyed peas that didn’t quite live up to your expectations, don’t worry – there are a few simple tricks that you can use to make them taste better. Here are three easy ways to make this staple dish more delicious:
Season the Water
One of the most important steps when cooking frozen black-eyed peas is to season your water before adding the peas to it.
Adding salt, pepper, and other herbs and spices will help bring out the flavor in your peas. Make sure not to over-salt, as this can make the peas too salty for your liking.
Add Aromatics
Adding aromatics like onions, garlic, bay leaves, or thyme to your water can really help give the black-eyed peas more flavor.
If you’re making a dish that includes vegetables, add them while cooking along with the aromatics in order to get even more flavor out of them.
Don’t Overcook
Make sure not to overcook your black-eyed peas – they should be done in 8-10 minutes if you’re cooking them in boiling water and 15-20 minutes if you’re simmering them on low heat.
You should also monitor their consistency and adjust the time accordingly; they should have a pleasant softness but still hold their shape when done.
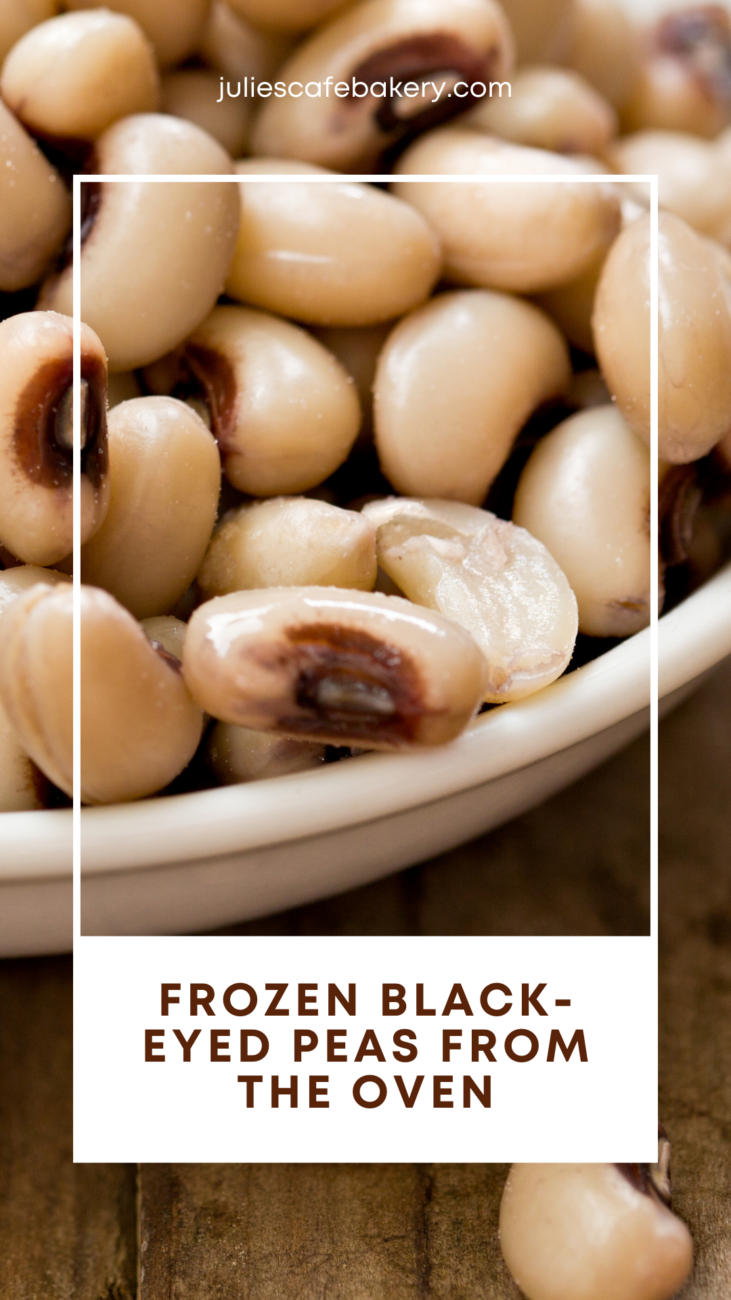
Frozen Black-Eyed Peas from the Oven
Ingredients
- ½ cup Frozen Black-Eyed Peas
- 2 tbsp Olive Oil
- 1 tsp Garlic Powder
- Salt and Pepper to Taste
Instructions
- First, preheat your oven to 350 °F (around 180 °C) and line your baking sheet with parchment paper.
- Then, spread out your frozen black-eyed peas onto the baking sheet, ensuring they have a single layer that’s not too thick. Drizzle olive oil on top and sprinkle some salt, pepper, and garlic powder on top.
- Bake for 10 minutes, then take them out and stir them around so they don’t stick together or burn in one place and put them back in the oven for another 10 minutes.
- Lastly, check if they’re cooked through by piercing them with a fork — they should be tender but not too soft — and enjoy!
Before diving into the nutritional details, please review our Nutritional Disclaimer page for important context and clarifications.