Hot Dago Recipe: How to Make this Delicious Sandwich?
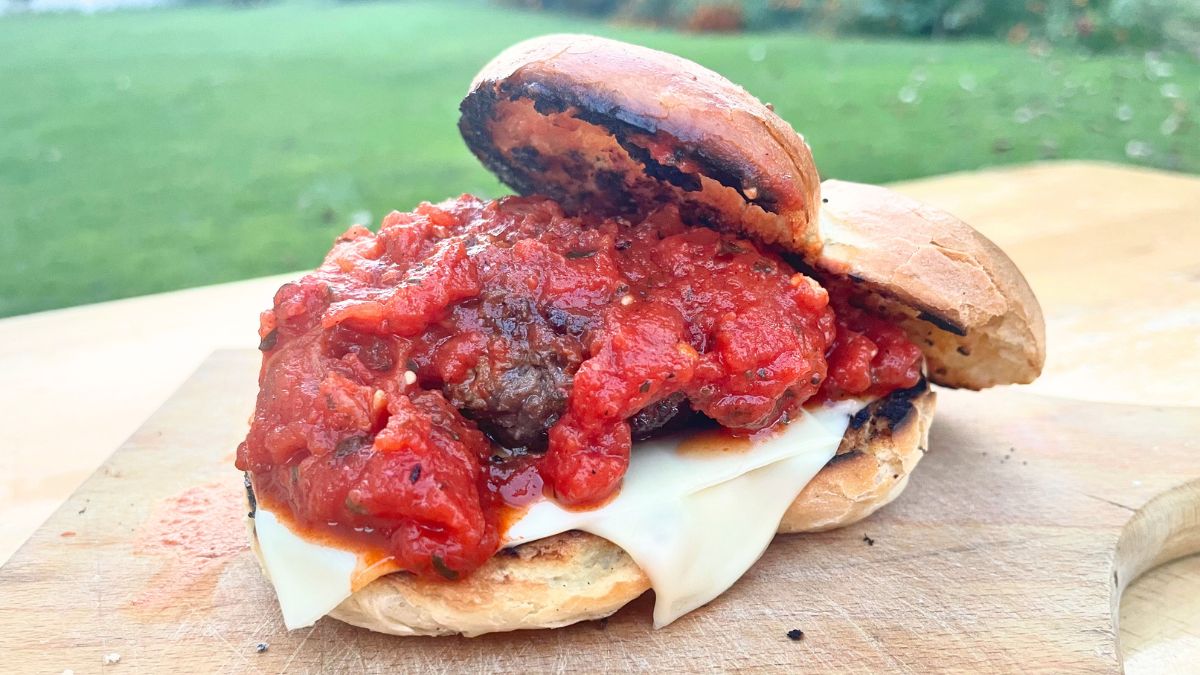
I spent a fair share of my time thinking that hot dago is misspelled for a hot dog. I didn’t even bother to read the whole text, as nothing about hot dogs captured my attention. That is far from the truth, tough. Hot Dago is a crossover between American and Italian cuisine. I like to think about it as a bougie, gourmet hamburger or sandwich, with fancy sauce on top. Surprisingly, it is ready super quick, so Hot Dago is an amazing choice for a quick, but 5-star dinner!
The taste is out-of-this-world, rich, spicy, and garlicky. Tomato sauce skyrockets the dish with its velvety texture and a touch of olive oil. My favorite thing about hot dago is the fact that it doesn’t require a regular hamburger bun (which I hate), but you can simply stuff it between two slices of bread or any other variety you love.
What Is Hot Dago?
Hot dago is a hamburger but better! The main difference between these two is in condiments – hot dago has no ketchup or mayo, but marinara sauce instead. Freshly made sauce with aromatic herbs can’t be compared to any store-bought dressing. Instead of a hamburger bun, you can go for any bread you like, toast, kaiser buns, panini, anything!
When it comes to the patty, traditionally, it is made with pork, but due to my diet restrictions, I used beef. The secret is in the spice mix, actually, which you can alter to your taste buds. This one is piquant, though. Speaking of texture, you can prepare the patties with meat only, but I like to add hydrated breadcrumbs for a softer, moister bite. Don’t forget to melt some mozzarella over the crispy bread!
How to Make Hot Dago?
To prepare hot dago, you really don’t have to know anything about cooking, it is that simple. You’ll need a few pans and dishes, though, but you can prepare everything at the same time as nothing requires special attention. Here are all the ingredients!
- Ground meat – As I said above, I used beef instead of pork, but you can go for either or a mix!
- Tomatoes – I chose canned San Marzano whole peeled tomatoes, but you can go with fresh if you have them. This is a top-notch sort to make marinara sauce!
- Breadcrumbs – I like Italian-style breadcrumbs, but you can use stale bread, as well. The key is rehydrating, so simply leave them in some water to absorb the liquid. It will make patties super moist and tender.
- Cheese – Fresh mozzarella cheese is always my first choice! This time I used American cheese, it’s good, but not better than mozzarella.
- Bread – I went for Kaiser hamburger buns this time. They are my favorite, but you can use whatever, from toast to classic buns, paninis, baguettes…
- Oil – I use cooking oil spray for grilling the patties, olive oil for marinara, and butter to toast the bread.
- Spices – For marinara sauce, I added the staple herbs: oregano, basil, and parsley, plus red pepper flakes, sea salt, and granulated garlic (you can go with fresh, too). For the patty, I used salt, black pepper, parsley, oregano, onion salt, granulated garlic, and cayenne pepper.
Let’s have dinner together!
Step 1: Preparing the Patties
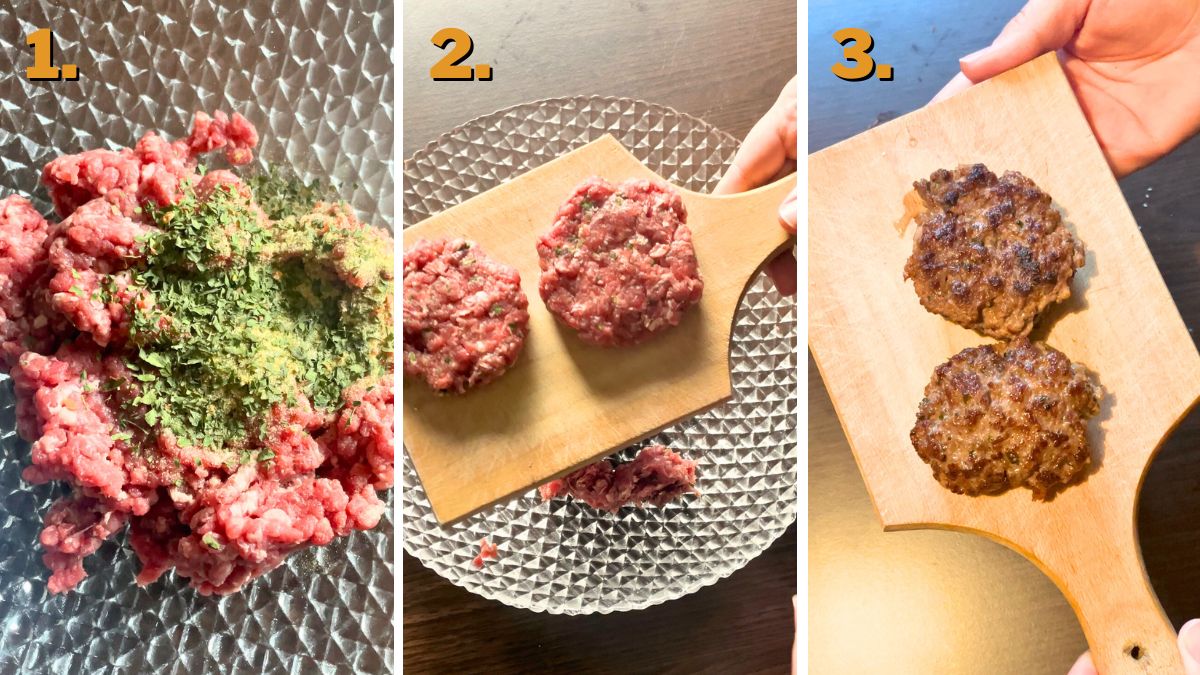
Start with rehydrating breadcrumbs. Simply pour water over breadcrumbs (just enough to cover them) and let them sit for a few minutes to absorb everything. It will look like a paste.
In a bowl combine ground beef and spices: salt, black pepper, parsley, oregano, onion salt, granulated garlic, and cayenne pepper. Add rehydrated breadcrumbs, and combine everything finely. I like to use my hands here, to feel the texture, as it has to be easy to shape and can’t fall apart.
Take a grill pan, spray it with some cooking oil, and bring to medium heat. While the pan is heating up, I shape the patties. I like to leave them a bit thicker, but you can press them more, though. Make them as big as your bread of choice.
Toss them on the pan and grill them for about 5 minutes per side, depending on how thick they are. I like to make them extra crispy on the outside, so I leave them in a bit more.
Step 2: Making Marinara Sauce
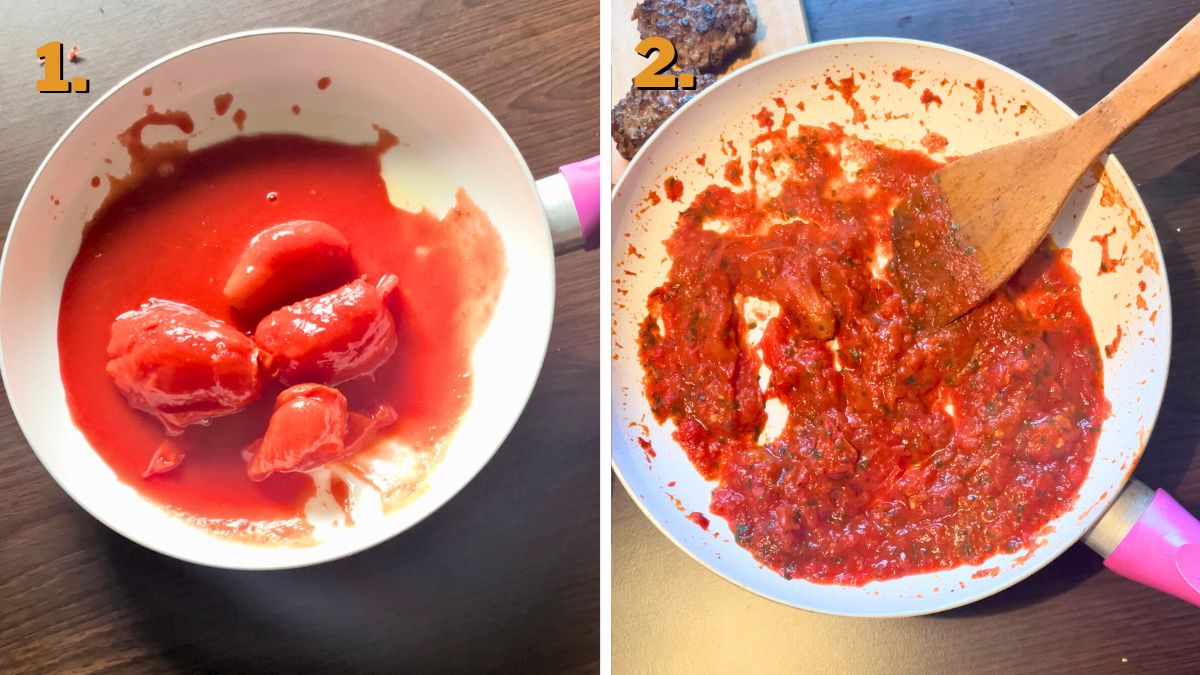
Pour some olive oil into the skillet and add canned San Marzano whole peeled tomatoes. Bring it to a simmer over medium heat and add sea salt, red pepper flakes, and granulated garlic. Let the sauce reduce completely, so it’s more paste consistency, and thicker than a pizza sauce.
Close to the end, add the herbs: oregano, basil, and parsley. Let it simmer a bit more, and that’s it! Traditionally, marinara is cooked for about an hour, but this is the quickest version which takes about 15 minutes.
Step 3: Assembling the Hot Dago Sandwich
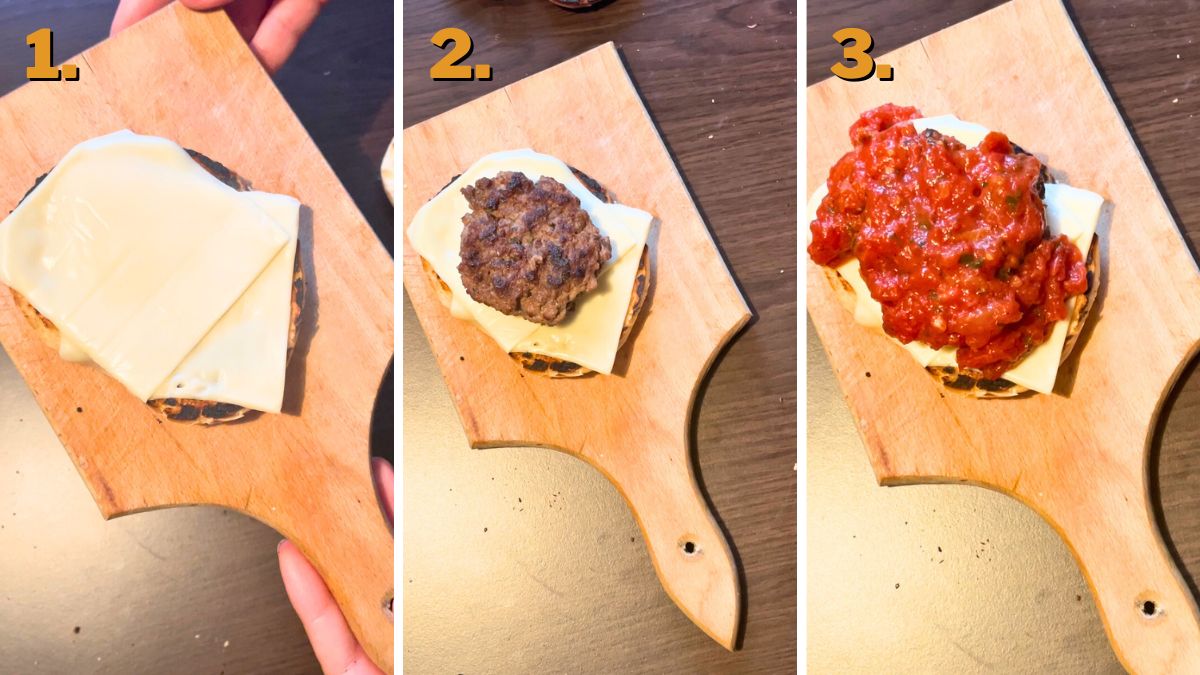
First, toast the bread of your choice to add crunch and texture. I coated both halves of my Kaiser bun with butter and browned them on the non-stick pan. Arrange mozzarella cheese on the bottom slice and let it melt a bit.
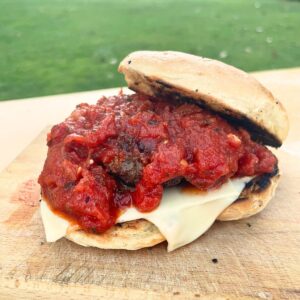
Place the patty on top, and cover it with marinara sauce generously. Cover the dago with the other half of bread, serve, and enjoy!
How to Store Hot Dago?
I would never recommend storing an already assembled hot dago sandwich, as it will absorb the liquid from the marinara sauce and will be too soft, almost soggy. But, it is tasty if you want to pack a sandwich for lunch, it won’t change the texture as much for a few hours.
Patties and marinara sauce will be good for about 3 days in the fridge, and 3 months in the freezer. Don’t forget to place parchment paper between the patties and store everything in airtight containers. Also, I sometimes shape patties and freeze them raw so I can grill them swiftly when I’m in a rush.
What to Serve with This Sandwich?
I did tiny research and found out that hot dago is often served with caramelized onion on top. A bit of sweetness from onions works amazingly with a piquant patty, but I didn’t feel like eating it today. For me, its perfect match is potato chips as it adds just the right amount of crunch.
French fries are also superb options. If you want to include more veggies in the dish, go for grilled corn on the cob, coleslaw, zucchini fries, beans, or grilled vegetables. If you want more heat, serve hot dago with pepperoncini, staple Italian chili peppers.
Hot Dago Sandwich
Equipment
Ingredients
Patty
- 18 oz ground beef
- 1 tsp onion salt
- 1 tsp black pepper
- 1 tsp granulated garlic
- ½ tsp cayenne pepper (or more to taste)
- 2 tsp parsley
- 1 tsp oregano
- 2 tbsp breadcrumbs
Marinara Sauce
- 14 oz whole peeled tomatoes
- 1 ½ tbsp olive oil
- 1 tsp sea salt
- 1 tsp red pepper flakes
- 1 tsp granulated garlic
- 1 tsp oregano
- 2 tsp basil
- 1 tsp parsley
For Assembling
- 4 buns (Kaiser)
- 4 tsp butter
- 8 slices mozzarella
Instructions
Preparing the Patties
- Start with rehydrating breadcrumbs. Pour water over breadcrumbs (just enough to cover them) and let them sit for a few minutes to absorb everything. It will look like a paste.
- In a bowl combine ground beef and spices: salt, black pepper, parsley, oregano, onion salt, granulated garlic, and cayenne pepper. Add rehydrated breadcrumbs, and combine everything finely.
- Take a grill pan, spray it with some cooking oil, and bring to medium heat. While the pan is heating up, shape the patties.
- Toss them on the pan and grill them for about 5 minutes per side, depending on how thick they are.
Making Marinara Sauce
- Pour some olive oil into the skillet and add canned San Marzano whole peeled tomatoes.
- Bring it to a simmer over medium heat and add sea salt, red pepper flakes, and granulated garlic. Let the sauce reduce completely, so it’s more paste consistency.
- Close to the end, add the herbs: oregano, basil, and parsley. Let it simmer a bit more. It will take around 15 minutes altogether.
Assembling the Hot Dago
- First, toast the bread of your choice to add crunch and texture. Coat both halves of Kaiser buns with butter and brown them on the non-stick pan. Arrange mozzarella cheese on the bottom slice and let it melt a bit.
- Place the patty on top, and cover it with marinara sauce generously. Cover the dago with the other half of bread, serve, and enjoy!
Notes
- caramelized onions
- potato chips
- french fries
- grilled corn on the cob
- coleslaw
- zucchini fries
- beans
- grilled vegetables
- pepperoncini
Nutrition
Before diving into the nutritional details, please review our Nutritional Disclaimer page for important context and clarifications.
