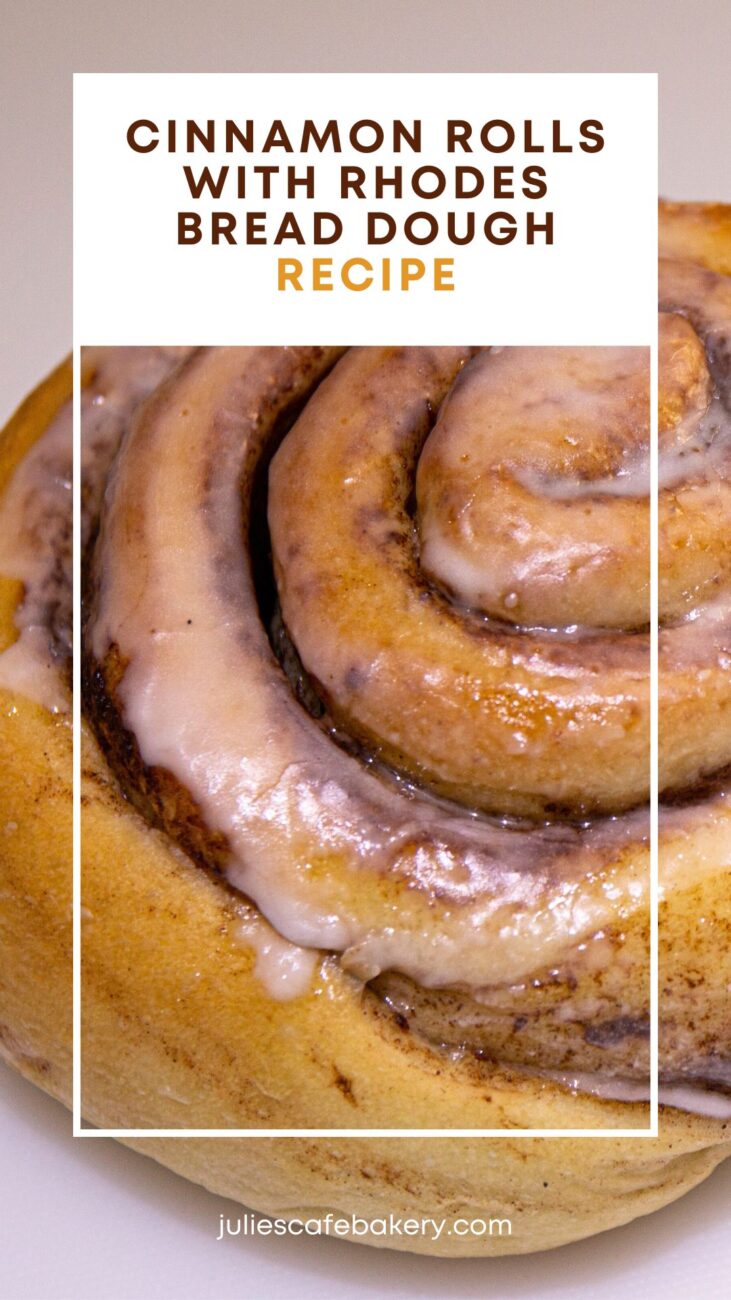
Cinnamon Rolls with Rhodes Bread Dough [Recipe]
![Cinnamon Rolls With Rhodes Bread Dough [Recipe]](https://juliescafebakery.com/wp-content/uploads/Cinnamon-Rolls-With-Rhodes-Bread-Dough-Recipe.jpg)

For me, making cinnamon rolls with Rhodes Bread Dough means having all the fun and skipping all the mess. Even though I love making dough from scratch, sometimes I just want to fast forward and just have fun shaping, frosting, and rolling. Still, as simple as this ready-made dough makes things, you have to know some things to make this shortcut a successful venture.
Although making cinnamon rolls with Rhodes Bread Dough isn’t overly complex, I needed a few practice rounds until I got the hang of it. For me, timing was the biggest problem, which made me think that I may not be the only one facing this issue. So, in this article, I will get you in on a few secrets and give the recipe that made the cut!
How to Make Cinnamon Rolls with Rhodes Bread Dough?
In a nutshell, the making process covers thawing, rolling out, filling, rolling in, shaping, rising, baking, and icing. All these stages include specific methods and sub-stages you need to know about.
As I mentioned before, the biggest issue I faced was the timing, i.e., I just couldn’t get the rising time quite right. So, I once ended up with both over-risen and under-risen dough. Finally, I got the hang of it, and the rest was a piece of cake, or, in this case, a piece of delicious cinnamon rolls!
To get a piece yourself, follow these steps!

Step 1: Preparing the Dough
You get the Rhodes Bread Dough frozen, making the first step the crucial one. The dough needs to be thawed so that you can roll it out. It took me a few unsuccessful tries, but I finally hacked this step.
To thaw the dough and make it as if freshly kneaded, first, leave it overnight in the fridge. My first instinct was to let it thaw at room temperature, which didn’t yield the results I had hoped for. The next time, I tried leaving the frozen dough on a warm surface, and again, I failed.
So, I did some research and found out that frozen dough does best when thawed in the fridge overnight and then left at room temperature. And that’s exactly what I did. So, before you start actually handling the dough, leave it in the fridge to thaw and then let it sit at room temperature for about an hour or two.
This will significantly speed up and improve the rising process, which is crucial for delicious, puffy, and airy cinnamon rolls.
Step 2: Time to Roll
Once your dough has thawed, it’s time to roll it out. If you have experience in dough rolling, go ahead and apply the method you usually use. If you aren’t an experienced dough roller, I have a few tips for you.
First of all, make sure the rolling surface isn’t sticky. So, either sprinkle a generous amount of flour, use a dough-covered silicon mat, or do as I do and roll the dough over waxed paper. You can sprinkle some flour on the waxed paper, too, to make sure your dough doesn’t stick.
After placing the dough on the surface, press it in the middle with your palms and flatten it a bit. Spread it a little and aim for a rectangular shape. Take the rolling pin and start rolling from the middle up and down.
Then, turn the dough and roll again, from the middle up and down. I prefer to keep my rolling direction vertical, so up and down, but if you want to, you can also try rolling diagonally. The shape will probably distort, but don’t worry about it; you having fun and giving lots of love to the process is what’s important.
Step 3: Time to Fill
This is the easiest step and, in my opinion, the most fun. Melt a stick of butter and let it cool for a few minutes. During this time, mix cinnamon and brown sugar. I mix a cup of brown sugar with a pack of cinnamon, but you can adjust the amount according to your taste.
Once everything is ready, spread the butter over the dough using a brush. Make sure you cover the entire surface equally. The butter layer should be thin and equally spread.
Sprinkle the cinnamon and brown sugar mixture and carefully even it out.
Step 4: Rolling In

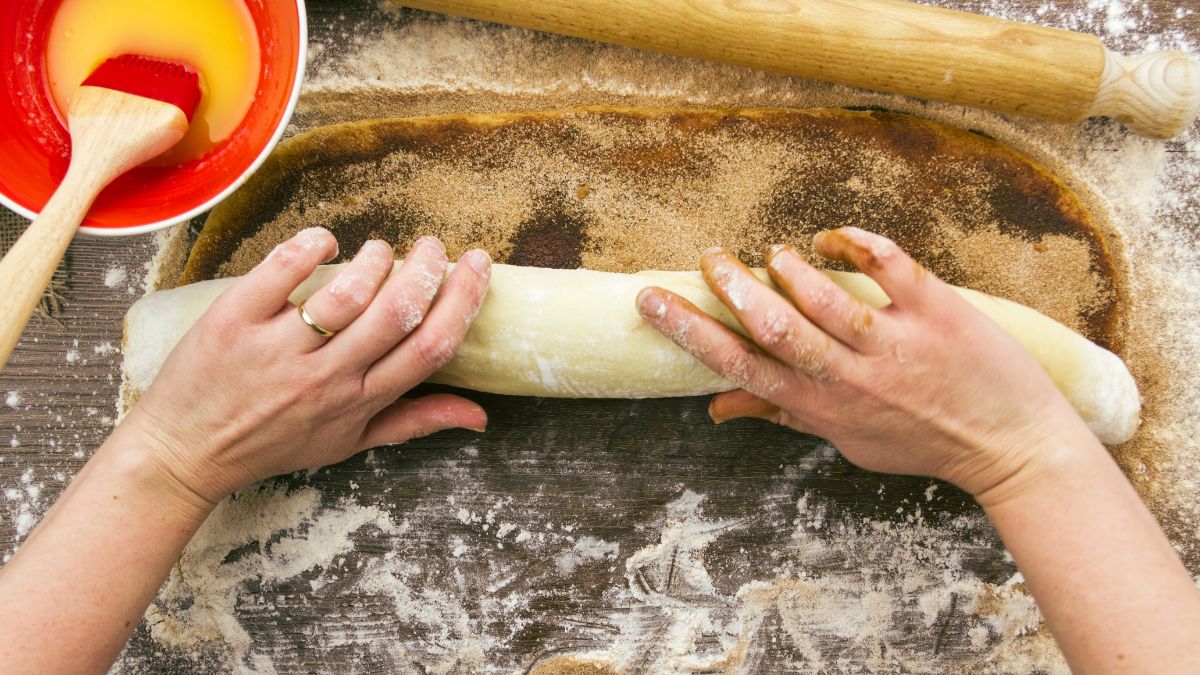
The crucial thing in this step is to carefully tuck in the edges. Start rolling horizontally, i.e., from the longer sides, so that you get more cinnamon rolls. Once you’ve made one long roll, use a bread knife to cut the rolls out.
I usually make them two fingers thick, and I end up with about ten rolls. Once you’ve cut out the cinnamon rolls, place them on a parchment paper-covered baking tray and cover them with a plastic wrap.
Let the rolls rise for about an hour or until they double in size. The worst thing you can do during this time is disturb the rolls. Don’t touch them, don’t change their location, and don’t uncover them.
If you want to speed up the rising process (which in no circumstance will be significantly shorter than 50 minutes), you can place the tray on a warm surface, such as on top of the fridge, near a heat source, or under direct sunlight.
Step 5: Making the Frosting
I usually mix cream cheese, vanilla extract, powdered sugar, and milk to make the frosting, but this is where you can be as creative as you want and try out new things. I usually add one cup of cream cheese, a few drops of vanilla extract, a tbsp of powdered sugar, and half a cup of milk.
Mix the ingredients in a mixing bowl until they homogenize, and then mix again using a mixer. The consistency should be even and pourable.
Step 6: Bake and Frost
Once the rising time is up, it is time to bake the cinnamon rolls. Preheat the oven to 350 °F, i.e., 175 °C, and pop the rolls inside, uncovered, of course. Let them bake for about 15-20 minutes. Remove them from the oven and let them cool down for about ten minutes.
I usually frost them while they are still warm, but not hot, so don’t let the rolls sit for over ten minutes before frosting them. Using a spoon, spatula, or frosting gun, you can top the cinnamon rolls with the frosting.
Recipe Variations

Rhodes Bread Dough cinnamon rolls recipe is open to a number of variations, so you can be as creative as you want. Depending on your preferences, you can add margarine instead of butter or add nuts or dried fruits to the filling.
You can also mix the filling with chocolate chips or crushed biscuits for extra crunch. You can make the frosting using heavy cream instead of cream cheese. Also, if you want to make vegan frosting, you can use non-dairy cream and milk.
I sometimes skip the frosting altogether and cover my cinnamon rolls with melted chocolate and crushed nuts. Yes, it is as delicious as it sounds!
How to Store Leftovers?
The best piece of advice I can give you when it comes to storing the Rhodes Bread Dough cinnamon rolls is to polish them off while fresh. In my house, they don’t survive longer than 48 hours.
Still, if you do end up with leftovers you can’t finish within a day or two, the fridge is always a viable option. Place them in an airtight container and pop the cinnamon rolls in the fridge, preferably on the top shelf, to prevent the fridge moisture from penetrating them.
If you need to store your leftover cinnamon rolls for a more extended period, use the freezer, but keep in mind that the freezing process will reduce their quality. Don’t worry; they will still be delicious, but they won’t be as airy and as fluffy as before.
Who’s going to be your baking buddy for this cinnamon roll project? I would love to read about your baking adventures in the comments below!

Rhodes Bread Dough Cinnamon Rolls
Equipment
- Baking tray
- Parchment paper
- Plastic Wrap
- Mixer
- Rolling Pin
Ingredients
- 1 loaf Rhodes Bread Dough
For the Filling
- 1 stick Butter
- 1 cup Brown Sugar
- 5 tbsp Ground Cinnamon
- ½ tsp Salt
For the Frosting
- 1 cup Cream Cheese
- 1 tsp Powdered Sugar
- 1 tbsp Vanilla Extract
- ½ cup Milk
Instructions
Preparing the Dough
- Before you start actually handling the dough, leave it in the fridge to thaw overnight, and then let it sit at room temperature for about an hour or two.
Rolling the Dough
- Once your dough has thawed, it’s time to roll it out. First of all, make sure the rolling surface isn’t sticky.
- After placing the dough on the surface, press it in the middle with your palms and flatten it a bit. Spread it a little and aim for a rectangular shape. Take the rolling pin and start rolling from the middle up and down.
- Then turn the dough and roll again, from the middle up and down. I prefer to keep my rolling direction vertical, so up and down, but if you want to, you can also try rolling diagonally.
Making the Filling and Filling the Dough
- Melt a stick of butter and let it cool for a few minutes. During this time, mix cinnamon and brown sugar.
- Once everything is ready, spread the butter over the dough using a brush. Make sure you cover the entire surface equally. The butter layer should be thin and equally spread.
- Sprinkle the cinnamon and brown sugar mixture and carefully even it out.
Rolling It In
- When rolling it in, the crucial thing is to carefully tuck in the edges. Start rolling horizontally, i.e., from the longer sides, so that you get more cinnamon rolls. Once you’ve made one long roll, use a bread knife to cut the rolls out.
- I usually make them two fingers thick, and I end up with about ten rolls.
- Once you’ve cut out the cinnamon rolls, place them on a parchment paper-covered baking tray and cover them with a plastic wrap.
Letting the Rolls Rise
- Let the rolls rise for about an hour or until they double in size. Don’t touch them, don’t change their location, and don’t uncover them.
- If you want to speed up the rising process (which in no circumstance will be significantly shorter than 50 minutes), you can place the tray on a warm surface, such as on top of the fridge, near a heat source, or under direct sunlight.
Making the Frosting
- To make the frosting, mix all the ingredients in a mixing bowl until they homogenize, and then mix again using a mixer. The consistency should be even and pourable.
Preheating the Oven and Baking
- Preheat the oven to 350 °F, i.e., 175 °C, and pop the rolls inside, uncovered, of course.
- Let them bake for about 15 -20 minutes. Remove them from the oven and let them cool down for about ten minutes.
Frosting the Rolls
- Frost them while they are still warm, but not hot, so don’t let the rolls sit for over ten minutes before frosting them. Using a spoon, spatula, or frosting gun, you can top the cinnamon rolls with the frosting.
- That’s it! Your cinnamon rolls are ready for you to enjoy them!
Before diving into the nutritional details, please review our Nutritional Disclaimer page for important context and clarifications.
