How to Cook Frozen Garlic Bread in the Microwave? [No-oven Methods Explained]


Do you love garlic bread, and are you looking for an option to cook it quickly? The oven is the go-to when it comes to cooking garlic bread, but it is a time and gas-consuming one. How can you then cook frozen garlic bread without using an oven? The answer is yes, you can. And there are a few alternatives you can choose from. But let’s face it, probably the quickest way to hot and crispy garlic bread is the microwave, right? The big question is, how can you cook frozen garlic bread in the microwave?
Using the microwave is simple and quick. Use a paper towel to avoid spillage, separate your garlic bread slices (if cooking more than one), and cook for around half a minute.
If garlic bread is an integral part of your life, then I’m afraid this article is not for you. However, if you believe there is nothing more delicious than a good hot crispy garlic bread slice, keep reading. Choose one, and then take that garlic bread out of the freezer. I’m sure that’s what I’ll do.
How to Cook Frozen Garlic Bread in the Microwave?
Using the microwave is a simple way to cook frozen garlic bread. Without a doubt, it is also the quickest one. Your garlic bread will be ready to be eaten in less than one minute.
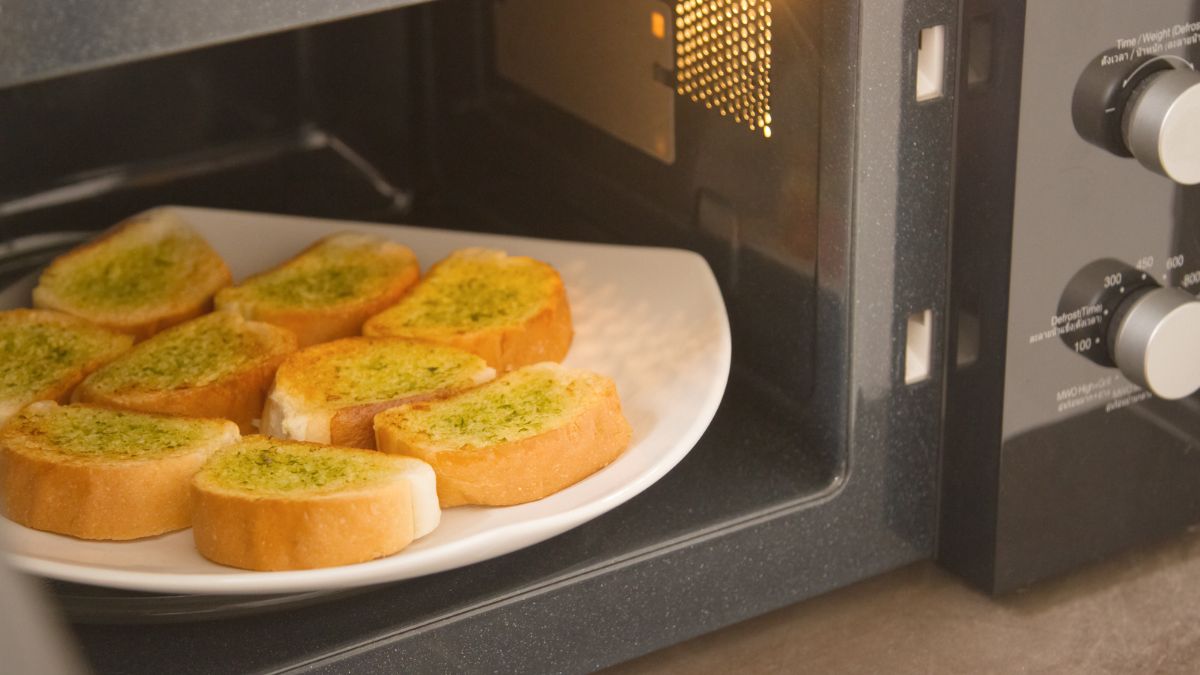
The process is simple. You only need to take your garlic bread out of the freezer, place separated slices of bread (make sure they are not touching) on a microwave-safe plate, and wait for 20-40 seconds. Voilá! Your garlic bread is ready for you.
Use a paper towel on top of your frozen garlic bread slices to avoid a garlic explosion in your microwave. What you want is a quicker option to cook your frozen garlic bread, not one that will leave you with a war-scene microwave and tons of work afterward.
It’s good news that we can avoid that garlic microwave party with a paper towel. However, there is one thing we cannot escape when cooking frozen bread in the microwave. By microwaving your frozen garlic bread, you quickly make it go from hard to soft. The bad news is that the same thing happens the other way around. Either you eat your bread straight away (which I don’t see necessarily as bad news), or you might not be able to eat it at all. What happens is that your bread will quickly become hard (again) and impossible to eat.
There is, although, one other thing you’ll be missing if you choose the microwave option over an oven or toaster alternative. And that is crispiness. It is true you will have eatable garlic bread in less than one minute, but it will be missing those crispy brown edges. Those are so characteristic of garlic bread that you might feel you are not eating garlic bread at all.
With all these negative points, why is the microwave option better than the oven one? Because it takes less time, therefore it consumes less energy, and less energy means less money you spend. If you want to eat your garlic bread right after preparing it, then the microwave option is undoubtedly the best option for you. If not, keep reading because I have four other options that might suit your needs.

How to Cook Frozen Garlic Bread Without an Oven?
As seen above, the microwave is a practical and quick way to bring your garlic bread back to life. Thankfully, it is not the only one. There are various ways to cook your frozen garlic bread without turning on the oven. Below you’ll find a complete list of options you can consider. Choose according to the utensils you have at home or the time you have available.
One warning, though, before we jump to the detailed options. Frozen garlic bread comes in all types of shapes and sizes. There are baguettes, toast, slices, and even whole bread. There is garlic bread with cheese or just the traditional garlic and butter. Even though all the below options work with most of the garlic bread variations, you might need to adjust the timings in some cases.
Air Fryer
5-6 minutes is all you need to prepare a crispy batch of garlic bread using your air fryer. Do you know why I love this option? Because, unlike a few others, you can do it with cheese-topped frozen garlic bread.
Set your Air Fryer to 340ºF/170ºC for 5 minutes and place your frozen garlic bread in the air fryer basket (you don’t need to use oil). Make sure the slices are not overlapping or touching each other for better results. If you are cooking a classic butter and garlic slice, you should flip your slides halfway through so they can cook evenly on both sides.
If, after 5 minutes, the bread is still not done to your liking, add some extra minutes to it. Also, if you want crispy garlic bread, you should add 1-2 minutes to the above proposed time.
Also, you should consider that if you cook more than one garlic bread, the second and third batches will go into a pre-heated air fryer. That means they will probably take less time to cook to your desired crispiness, and you should be aware of that by checking your basket before the 5 minutes are up.
Toaster
I know you are surprised by this option. Garlic bread is bread, and bread can go on your toaster, right? So, how can you use your toaster for cooking frozen garlic bread? Easy. Just pop your frozen garlic bread slices into the toaster (like any other bread) and let it toast to perfection.
It will take longer than typical bread (not frozen), but it will work. My advice, if you are following this method for the first time, is to keep checking on your bread slices to see when they are done to your liking. Like this, the next time, you will already know how long it takes for your garlic bread to be ready.
If your garlic bread is topped with cheese, this is probably not the best option for you, as the cheese will start melting and ruin your toaster (or worst).
Grill
Another easy and fast way to cook your frozen garlic bread is to use a grill. A pre-heated grill is all you need to cook some fresh and tasty garlic bread. And yes, you can use either a gas or a charcoal grill. Surely you will not prepare your charcoal grill just to cook frozen garlic bread, but give it a go the next time you use it for cooking. You will not regret it. The charcoal will add a delicious smoky flavor to your garlic bread that you will not find in any other option.
For the magic to happen, put your bread garlic slices on the grill and allow them to cook for 2-3 minutes on each side. And that’s it. They are ready to be enjoyed.
If you are cooking cheese-topped garlic bread, maybe this option is not for you. However, I have good news. If you have the classic butter and garlic bread, you can add some cheese when you flip your slices after the first 2-3 minutes. Believe me; it is heavenly.
Pan
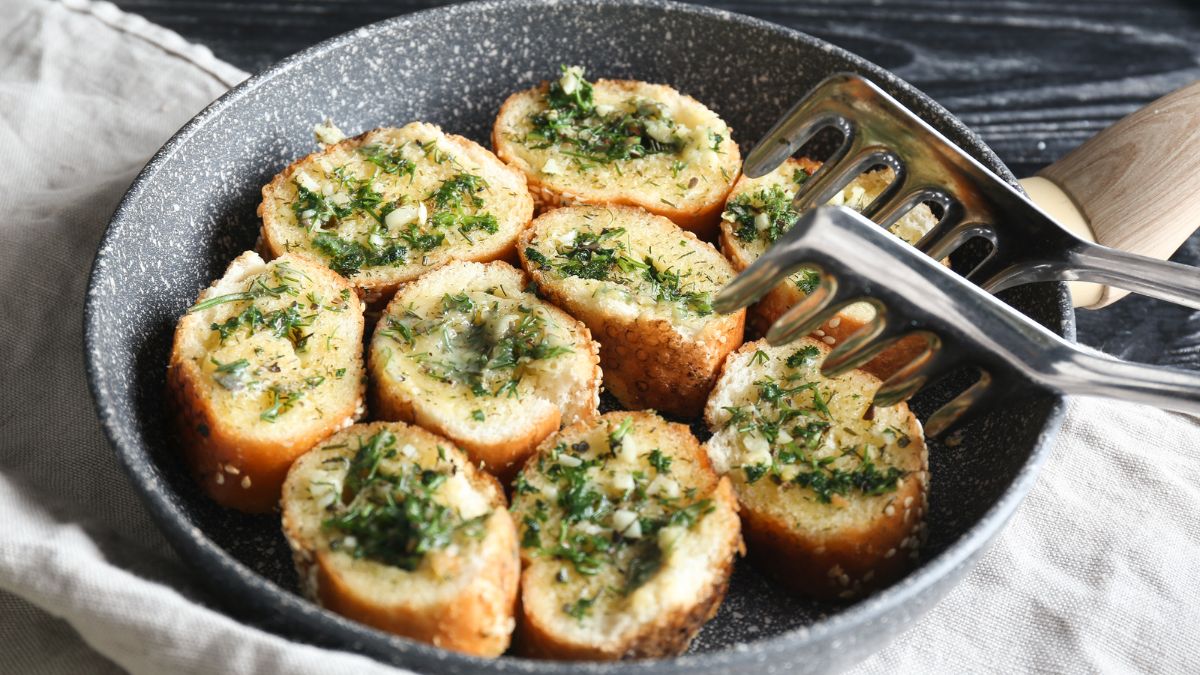
One more easy and quick way to bring your frozen garlic bread to life. Grab a pan. Turn your stove on low heat. Add your frozen garlic bread (garlic side down) to your pan. Put the lid on and let it cook for one minute. Turn your bread slices to cook the other side as well. Put the lid back on for one more minute. Take your ready-to-eat garlic bread from your pan and enjoy it while hot.
If you enjoy melted cheese on top of your garlic bread, this is also a good option for you. After you flip your bread the first time, place some cheddar, gouda, or asiago slices on top of your bread and cover it with the lid. The cheese will melt with the heat created inside the lidded pan. In the end, you’ll enjoy some gooey and delicious cheesy garlic bread slices.

Stovetop
The most effective way to warm any frozen food is by slowly heating it on a pot over the stovetop. Do you want to know to make this happen with frozen garlic bread? Don’t worry. I’m here to tell you all about it.
You start by wrapping your bread in aluminum foil. It doesn’t matter if you have slices or whole bread. This technique works just fine for both. After wrapping your bread, you place it in a large enough pot where it can fit comfortably. You allow it to cook, covered, over low heat for 5 to 10 minutes. That is it. Your garlic bread is ready for you.
From all of the above, this is probably the option that will take you more time to cook your frozen garlic bread. However, it is also the most rewarding one. When the time is up, your bread will be fluffy and look just like fresh bread. It is worth the wait.
