Red Velvet Marbled Cheesecake [Recipe]
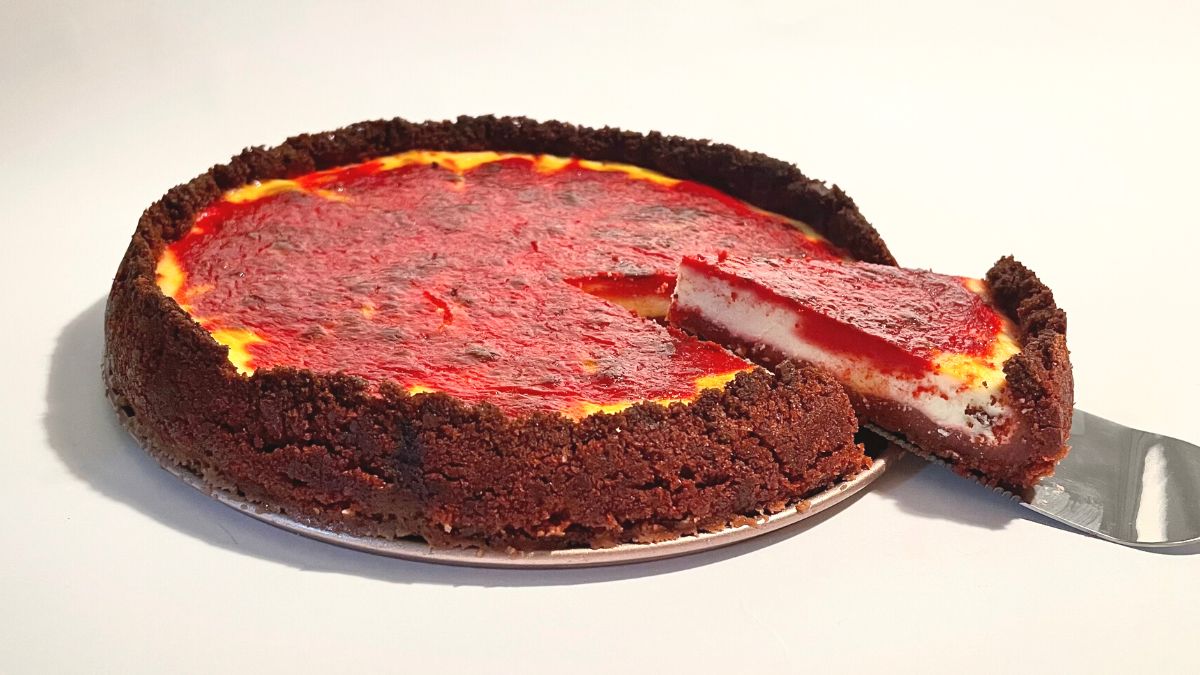

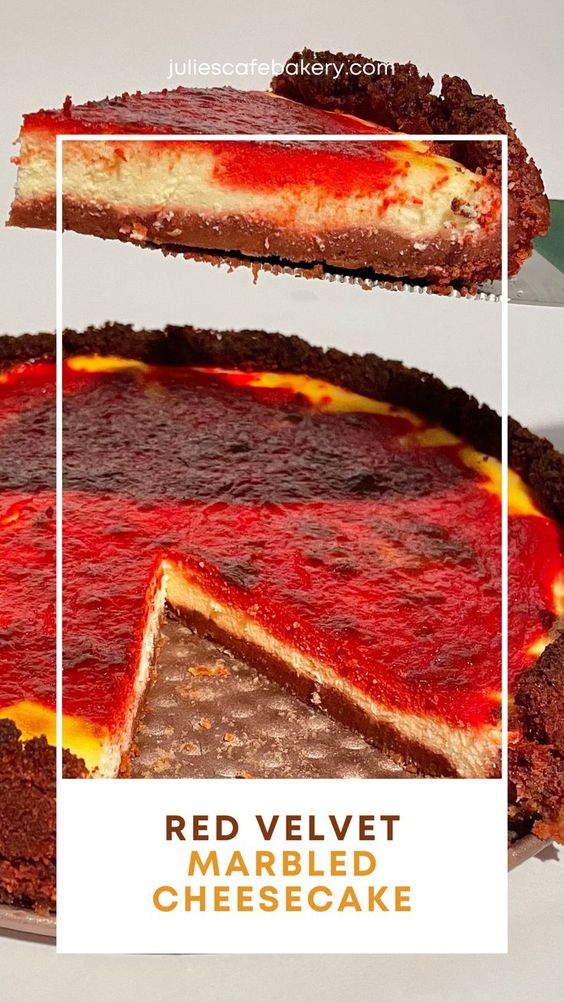
This cake is a perfect fusion of two ultimate cakes: red velvet and cheesecake. The first time I made it was completely unplanned, I didn’t even write down the recipe. My mom adores cheesecake but hates graham cracker crust, so I replaced it with the royal cake batter.
The taste is everything, sour, tangy, and sweet, but the texture is divine. It’s both creamy and crusty, and will definitely awaken your taste buds. Besides all, it also looks very appealing as you can’t miss it on the dessert table. Marbled sweets always catch attention!
What Makes This Red Velvet Marbled Cheesecake Special?
Where to start? Imagine red velvet cake relish but with crusty consistency. Cheesecake simply has to have that signature basket-like crust, so I didn’t want the regular cake layer. I crumbled the cake and pressed it into the cake pan, that way I got both.
When it comes to the creamy cheese layer, I made a classic one but added a bit of lemon. Juicy and tangy lemon goes wonderfully with a distinct cocoa flavor in the dough. Also, the sweetness of vanilla brings out the subtle tanginess of citrus and brings the cake to the perfect balance.
How to Make Red Velvet Marbled Cheesecake?
This cake requires high-quality ingredients as that’s the key to a luscious cake. There are a few statement products to achieve the best taste, though, others you can modify as you wish. This is a delicate and tender cake, slightly tangy and not too sweet. Here is the list of ingredients for your shopping list!
- Flour – Cake flour will give you light and airy cake, but here you can use all-purpose, as well. That’s because you’ll crumble the dough anyway, so it’s not that important.
- Eggs – Eggs add up to buttery and creamy relish and texture. It is an inevitable ingredient for both dough and cream.
- Sugar – I used granulated sugar for the dough, as I like to mix it with butter till pale yellow in color. On the other hand, powdered sugar is the best choice for the creamy part of the cake, as you are sure it will be silky and smooth.
- Butter – Butter is responsible for the melt-in-mouth texture of the dough.
- Buttermilk – Buttermilk gives richness to the cake. You can replace it with yogurt or kefir, though, as they have a similar consistency.
- Cocoa – Cocoa gives a bit of tanginess which goes perfectly with buttermilk.
- Red food dye – I use powdered red color as it gives just the right shade I like. You can use the gel one or not at all, it won’t change the flavor, though.
- Vanilla – Sweet vanilla is the best spice for any confection. It pairs perfectly with other ingredients because it is not overwhelming, yet compliments the taste.
- Vinegar – Vinegar influences the acidity of course, but also the moistness. You can use white wine or apple cider vinegar.
- Baking powder – For airy and well-raised cake use baking powder.
- Cream cheese – A slight tang of cream cheese blends well with sugar and is responsible for the smooth texture.
- Heavy cream – I like the velvety and sugary aftertaste, but you can use sour cream if you want it more on the tart side.
- Lemon – I adore citrus-induced cheesecake, so I opted for lemon for a stronger feel. You can go with lime, as well.
- Cornstarch – Cornstarch is here to stiffen all the ingredients listed above.
The list is a bit long, but the prep time is not complicated. Let’s get to work!
Step 1: Making the Cake
Bring all the ingredients to room temperature first. Mix the softened butter with granulated sugar until it is pale and crystal-less. That should take about 5 minutes.
Then, add eggs one at a time and mix till well combined. Mix buttermilk, vanilla, and red food coloring in one dish, and pour it into the bowl along with the other ingredients. The blend should be satiny, glossy, and semi-liquid.
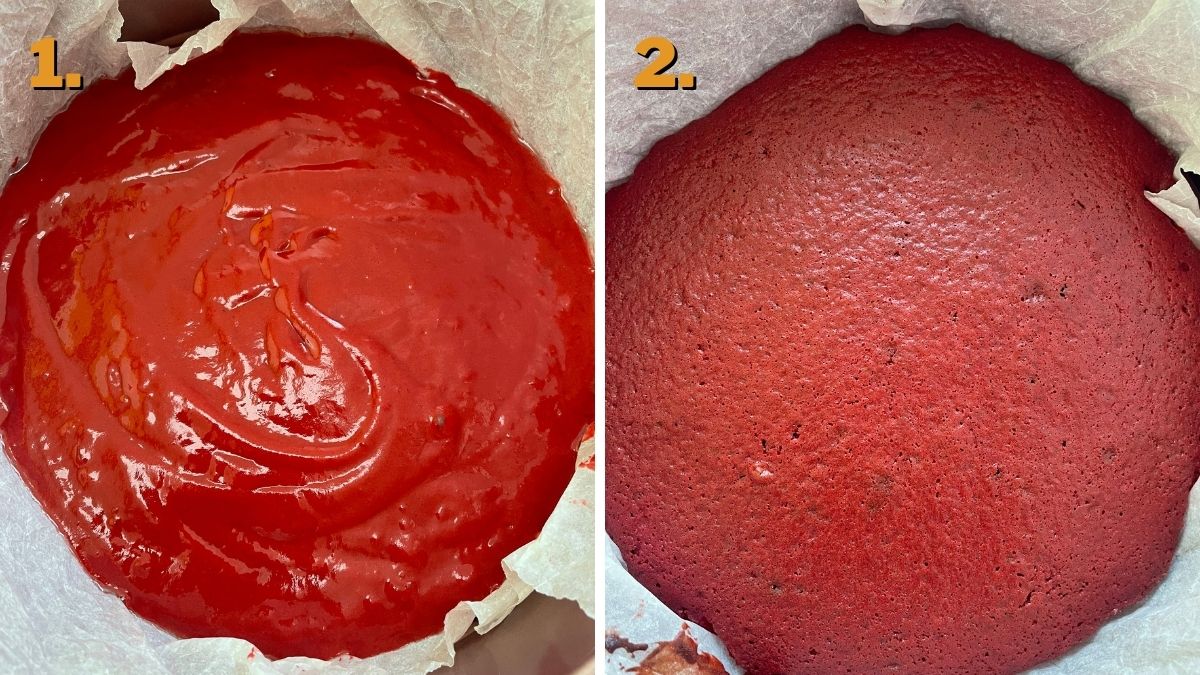
Now, sift flour, cocoa, and baking powder into the mixture, spoon by spoon. Don’t mix it but fold it with a spatula until lumps disappear. The last step is adding the vinegar and folding it one last time. The batter is supposed to be a bit thick, but easy to pour out into the cake pan.
Step 2: Baking
Preheat the oven to 360 °F (180 °C). Cover the ≈9-inch cake tin with the baking paper you previously wetted, so it’s easier to fit. Brush it lightly with cooking oil or butter and pour the batter in.
Bake it for about 15-20 minutes, depending on the thickness and oven. Check if it’s ready with a toothpick. Be careful not to overbake it, though.
Step 3: Making the Cheese Cream
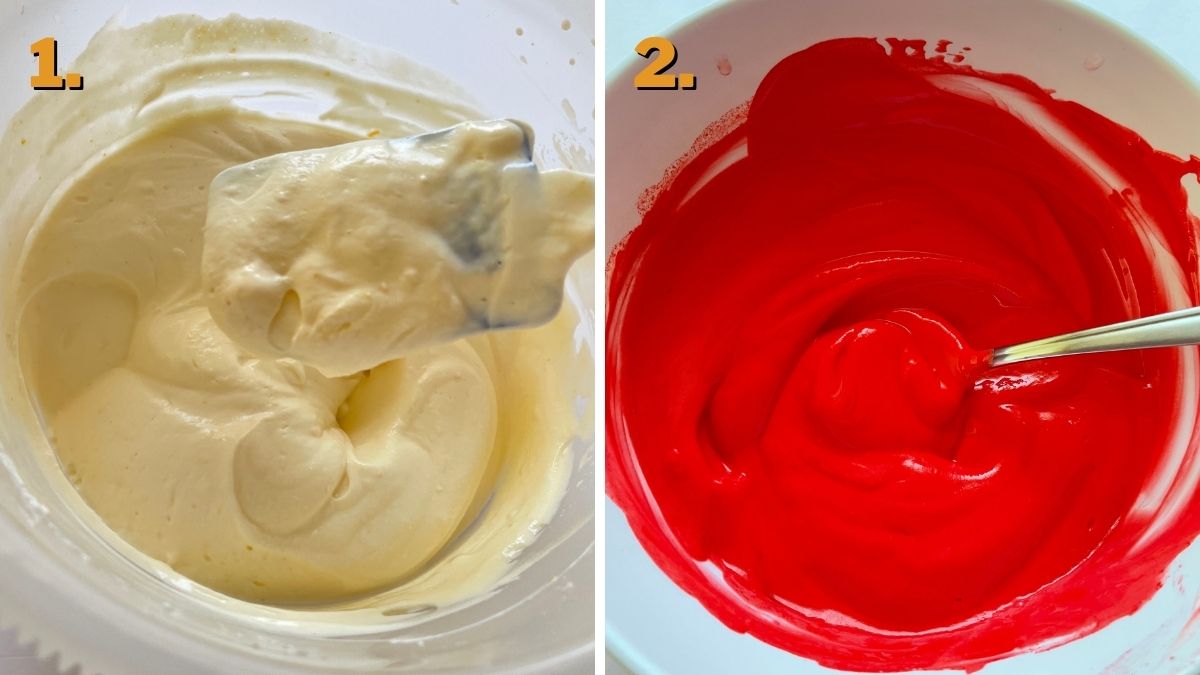
Mix together cream cheese, heavy cream, powdered sugar, vanilla, and cornstarch until smooth. Add eggs one at a time and mix just a bit more.
Lastly, add the juice of one lemon, plus you can also grate some peel for a more citrusy taste. Divide a few spoons of the cream into one bowl and dye it with red food coloring. Add as much as you need to achieve the desired shade.
Step 4: Assembling the Cake
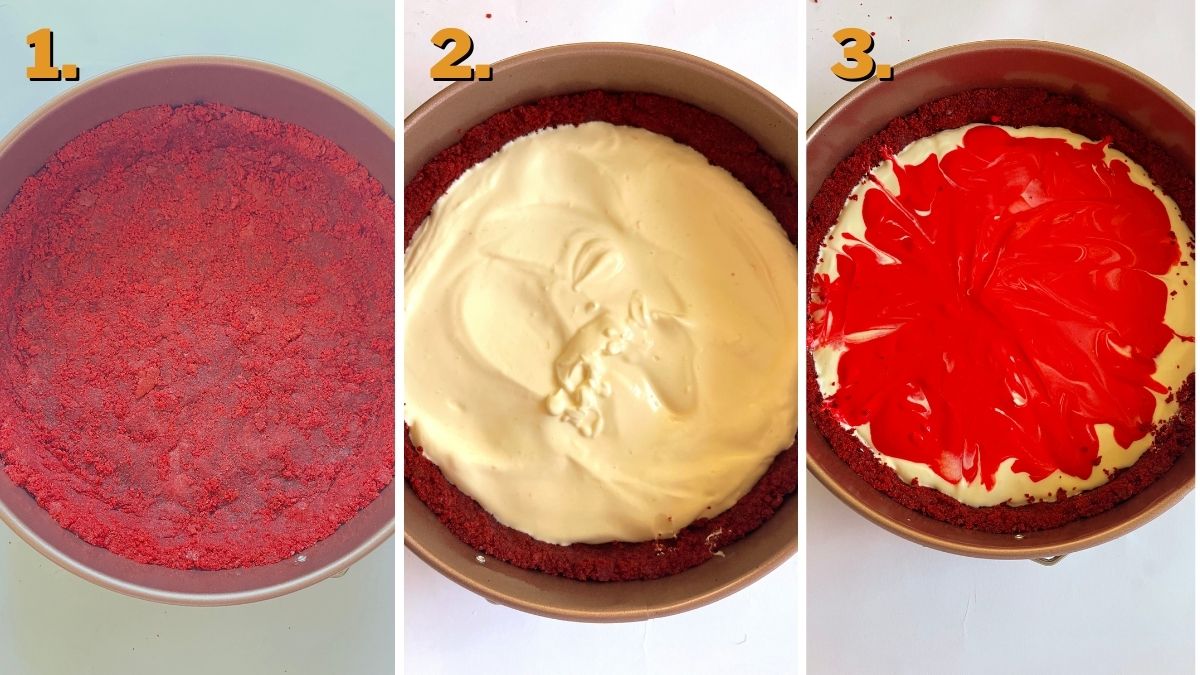
Crumble the baked cake and pour a bit of heavy cream or milk into it if needed. It should be moist and easy to press into the cake tin. Don’t forget to brush the dish with oil a bit so it doesn’t stick to the sides.
Now, pour the white cream and smash it lightly on the table a few times so the excess air bubbles disappear. Drizzle red cream spoon by spoon and swirl it a bit for a marbled look.
Step 5: Final Baking
Bring your oven to 360 °F (≈180 °C) again. Pour water into one bigger baking dish to make a steam bath for your cake. Let it boil lightly.
Wrap the cake tin with aluminum foil just in case to prevent the water to come in touch with the cake. The water level shouldn’t go over half of the tin. Let it bake for 45 minutes. The middle will be jiggly a bit, so don’t worry, it will stiffen.
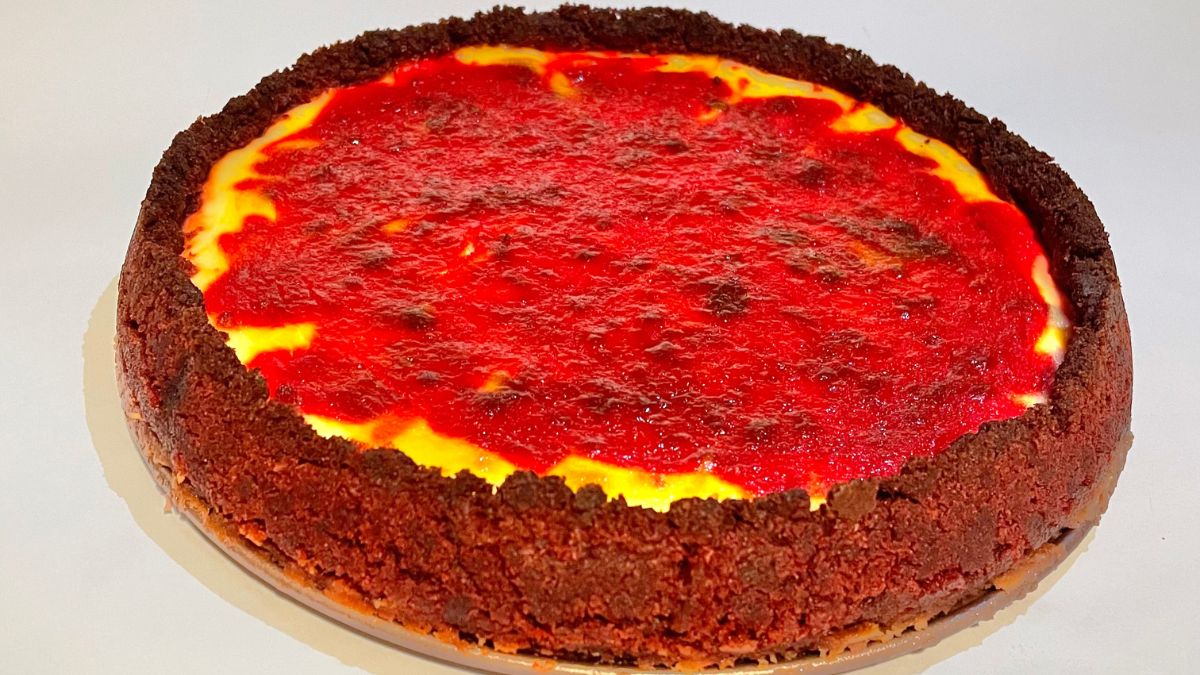
Let it cool for half an hour in the closed oven at first, then crack it open till the cake reaches room temperature. Let it cool in the fridge for 3 more hours at least, but best overnight.
How to Store Red Velvet Marbled Cheesecake?
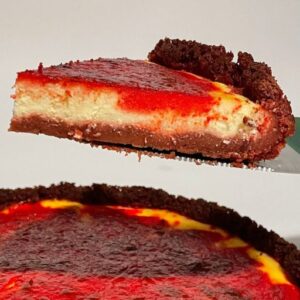
The cake is rich in dairy and eggs, so it’s a must to store it in the fridge. It is good for up to 4 days, just wrap it in cling foil or in an airtight container to keep it moist.
Red Velvet Marbled Cheesecake
Equipment
- 1 Mixer
- 1 Cake tin
- Parchment paper
Ingredients
Cake
- 1 ½ cups flour (200 grams)
- 1 cup granulated sugar (200 grams)
- 1/3 softened butter (80 grams)
- 2 large eggs
- 2 tbsp cocoa
- ½ cup buttermilk (≈160 grams)
- 1 tsp vanilla extract
- 1 tsp vinegar
- 2 ½ tsp baking powder (≈12 grams) That’s one pack.
- a pinch of salt
- 3 tsp red food coloring
Cream
- 28 oz cream cheese (800 grams or 3 ½ cups)
- 1 cup heavy cream (250 grams)
- 2 cups powdered sugar (200 grams)
- 2 tsp cornstarch
- 1 tsp vanilla extract
- 4 eggs
- 1 lemon
- 1 tsp red food coloring
Instructions
Making the Cake
- Make sure that all the ingredients are at room temperature.
- Mix the softened butter with granulated sugar until it is pale and crystal-less. That should take about 5 minutes.
- Then, add eggs one at a time and mix till well combined.
- Mix buttermilk, vanilla, and red food coloring in one dish, and pour it into the bowl along with the other ingredients. The blend should be satiny, glossy, and semi-liquid.
- Now, sift flour, cocoa, and baking powder into the mixture, spoon by spoon. Don’t mix it but fold it with a spatula until lumps disappear. The last step is adding the vinegar and folding it one last time. The batter is supposed to be a bit thick, but easy to pour out into the cake pan.
Baking
- Preheat the oven to 360° F (180° C). Cover the ≈9-inch cake tin with the baking paper you previously wetted, so it’s easier to fit. Brush it lightly with cooking oil or butter and pour the batter in.
- Bake it for about 15-20 minutes, depending on the thickness and oven. Check if it’s ready with a toothpick. Be careful not to overbake it.
Making the Cheese Cream
- Mix together cream cheese, heavy cream, powdered sugar, vanilla, and cornstarch until smooth. Add eggs one at a time and mix just a bit more.
- Lastly, add the juice of one lemon, plus you can also grate some peel for a more citrusy taste.
- Divide a few spoons of the cream into one bowl and dye it with red food coloring. Add as much as you need to achieve the desired shade.
Assembling the Cake
- Brush the dish with oil a bit so it doesn’t stick to the sides.
- Crumble the baked cake and pour a bit of heavy cream or milk into it if needed. It should be moist and easy to press into the cake tin.
- Now, pour the white cream and smash it lightly on the table a few times so the excess air bubbles disappear. Drizzle red cream spoon by spoon and swirl it a bit for a marbled look.
Final Baking
- Bring your oven to 360 ° F (≈180° C) again. Pour water into one bigger baking dish to make a steam bath for your cake. Let it boil lightly.
- Wrap the cake tin with aluminum foil just in case to prevent the water to come in touch with the cake. The water level shouldn’t go over half of the tin. Let it bake for 45 minutes. The middle will be jiggly a bit, so don’t worry, it will stiffen.
- If you don't have a bigger dish for the steam bath, that's fine. Even though it helps to get a creamier texture, the cheesecake will bake even if you don't use it.
- Let it cool for half an hour in the closed oven at first, then crack it open till the cake reaches room temperature. Let it cool in the fridge for 3 more hours at least, but best overnight.
