

How to Make Recipe Photos Look Better for Pinterest and Food Blogs

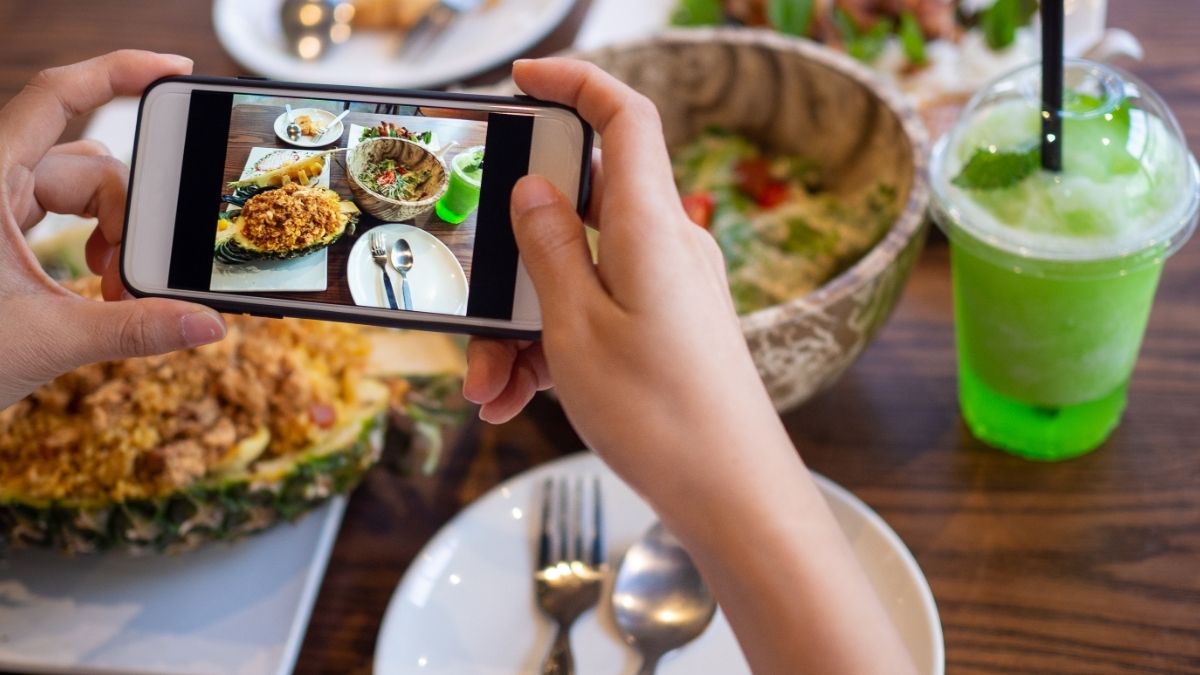

On Pinterest and food blogs, the photo usually comes before the “recipe”. It often decides whether someone looks at the ingredients or scrolls past. If the image looks all fuzzy or too dark, chances are readers won’t even bother to take a look at the “ingredients”. They will just keep on scrolling.
On the other hand, a clear, well-lit recipe photo is like a green light – it gets the click, the save, and the chance for someone to actually give that recipe a try.
So, does that mean every recipe needs a professional food photography setup? Not exactly. Good food photography does not require a full studio setup. A few simple changes can help the photo match what is actually on the plate. Let’s have a look at them.
Start With Natural Light
Kitchen lighting can make a good dish look flat or give it an odd yellow tone. Overhead bulbs are often the main problem, especially when they create strong shadows around the plate. So, before changing anything on the plate, adjust the light.
Aim for soft NATURAL light coming from the side. A spot near a window usually works well. Move the dish close to a window. Then, before taking the shot, turn the kitchen lights off. That way, you don’t get that yellow tint.
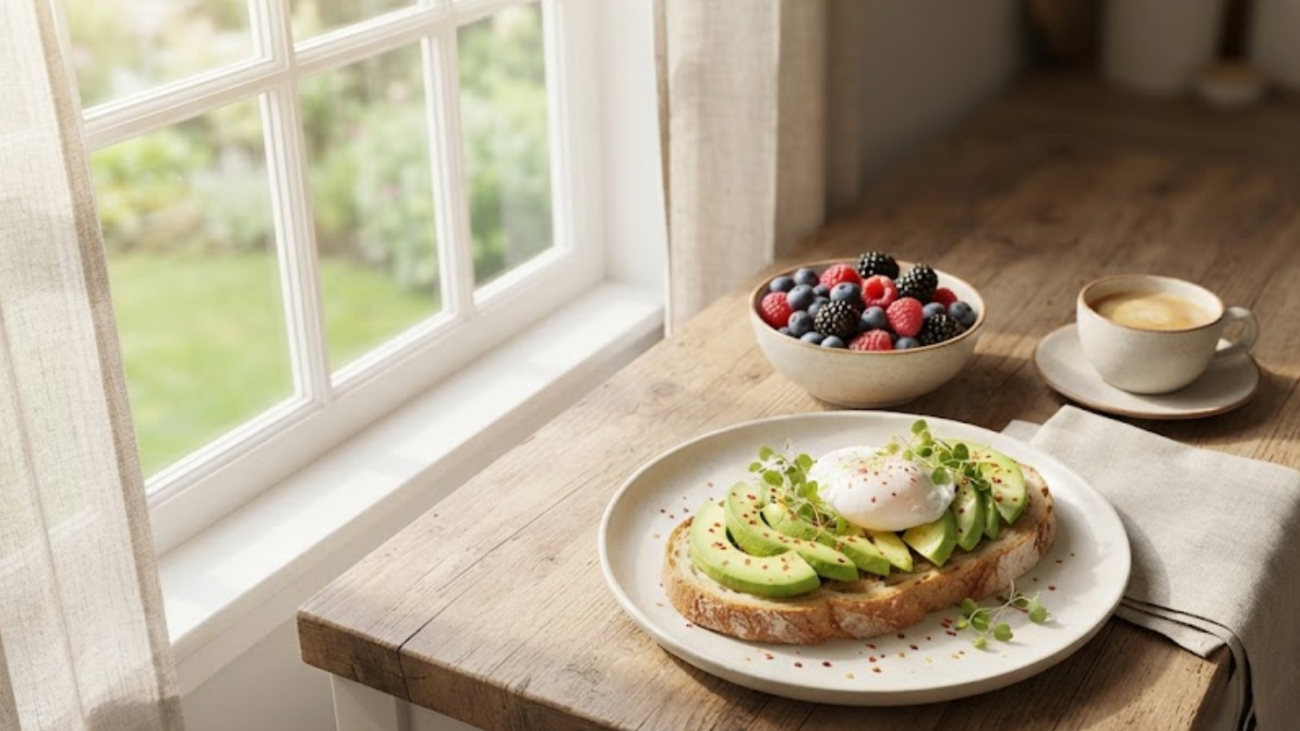
Natural light works especially well for:
- Cakes and pastries with detailed toppings
- Fresh fruit and colorful desserts
- Salads and plated meals
- Cookies, breads, and other baked goods
You do not need to brighten the whole kitchen. Just get clean, even light on the food itself.
Choose the Right Camera Angle
Not every recipe looks best from the same angle.
If it’s flat (like pizza, cookies, naan, or a breakfast board), shoot straight from the top. That way people see the whole layout.
If it’s tall (a layer cake, a stacked burger, a club sandwich), top-down flattens everything. Bring your phone down low, almost level with the plate, so you get those layers and height.
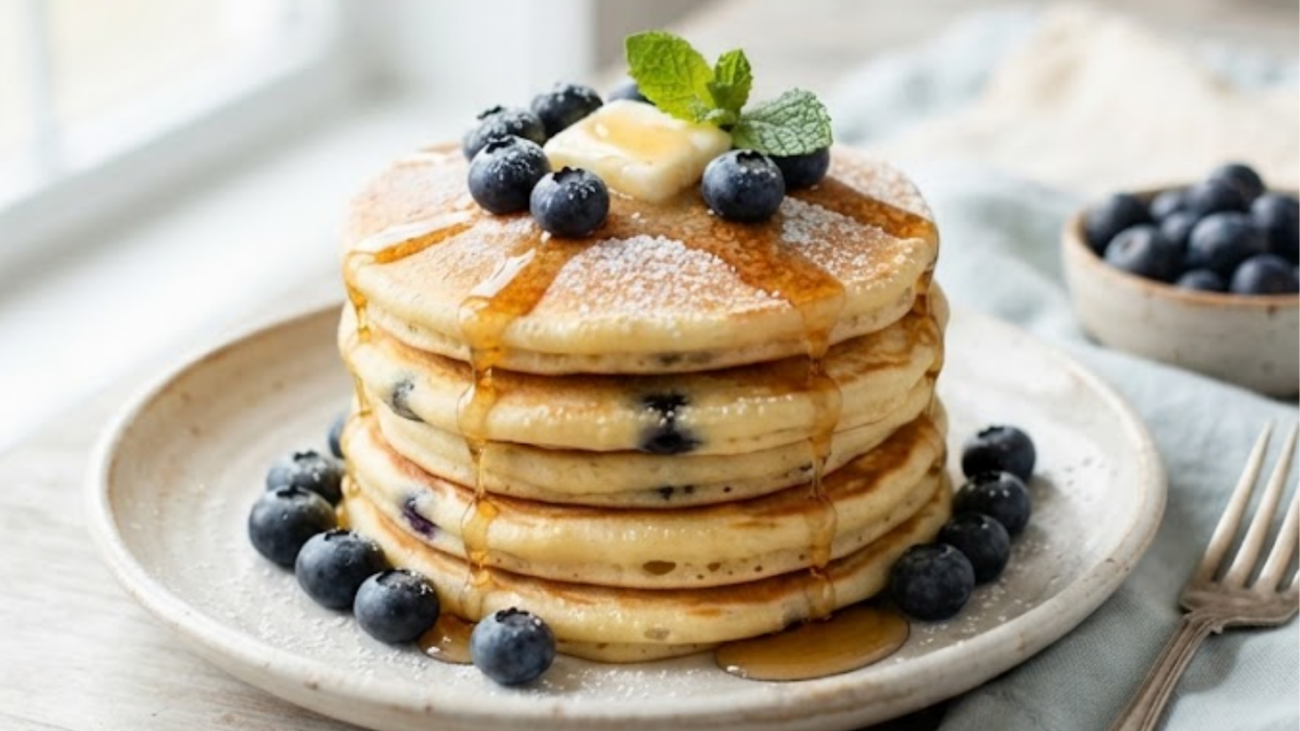
The 45-degree angle is another good option. You still see the top of the dish, but you get some of the side too. Try a few different spots before you pick an angle. Usually, moving your phone a couple of inches can change the whole look.
Keep the Frame Simple
The FOOD should be the first thing people notice. It needs to pop from the background. If there’s too much clutter, it’s hard to see what the actual dish is. Pins are really small on mobile, so it matters even more. Too many jars, props, and prints just steal attention from the food itself. So, keep it minimal.

One surface and one or two props are enough. Better to add something from the recipe (like a small bowl of lemon slices for a lemon cake), than random decoration.
Also look around the frame before you click. Crumbs, a smudge on the plate, a messy folded napkin – it gets obvious once enlarged. Wipe it, fix it. Looks cleaner and you won’t have to fix it later.
Leave Room Around the Food
A common mistake is getting too close to the plate.
Avoid shooting too close to the plate.
A tight frame looks okay on the phone, but leaves no room for cropping. If the plate or cake is already touching the edge of the frame, there may be no room left to adjust the composition for Pinterest.
Leave some space around the main subject when taking the original photo. You can always crop it tighter later.
Use Export Settings That Pinterest Prefers
A lot of blurriness happens during export. If you save too small and the blog theme stretches it wider, it will always look soft. Pinterest likes verticals. So, keep Pinterest images tall. A size of 1000 × 1500 pixels works well for the feed. It gives you the 2:3 ratio without much cropping.
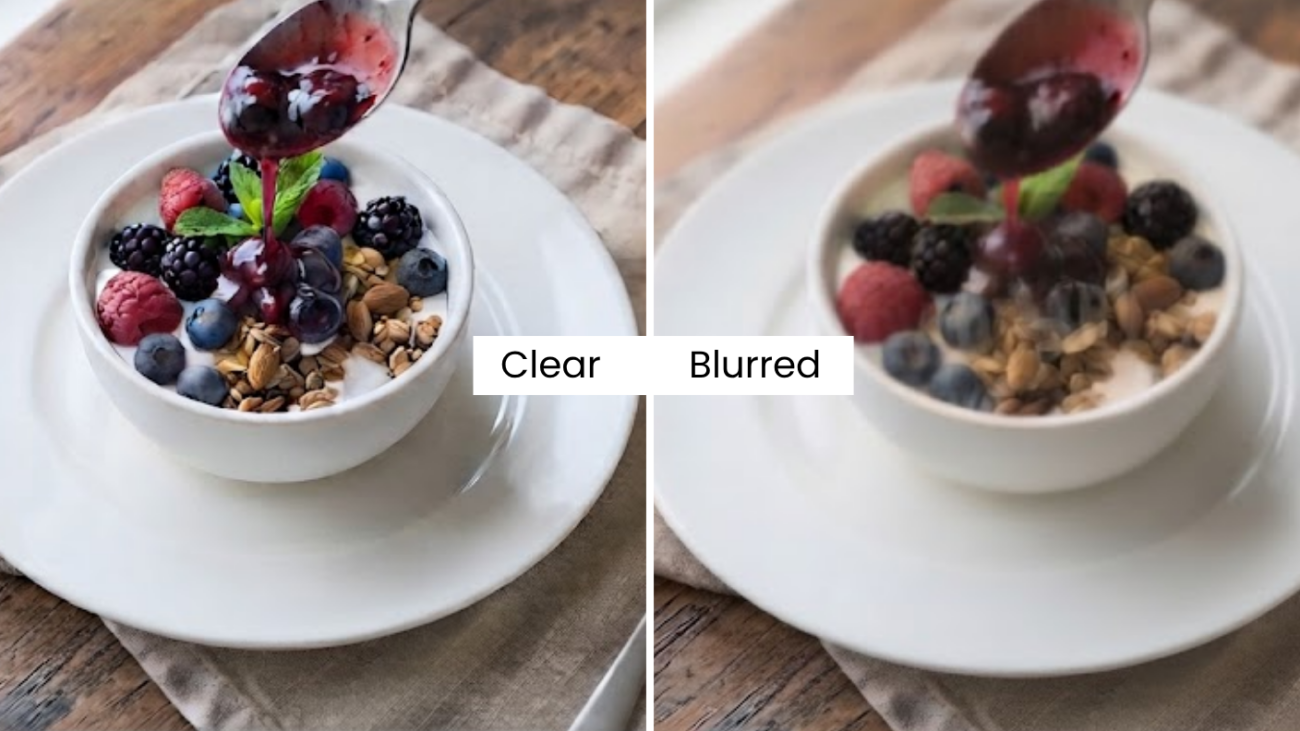
However, resizing can cause issues. It can sometimes take the sharpness out of an otherwise good photo.
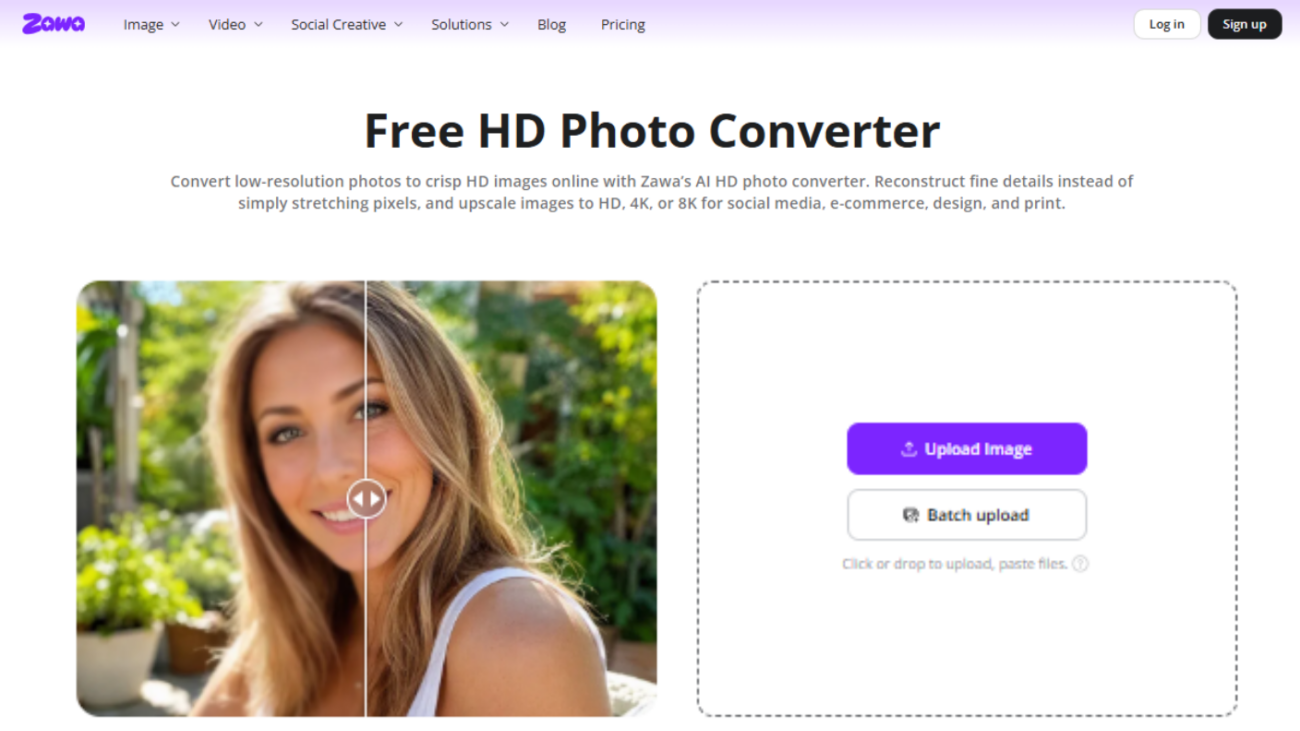
When reshooting is not an option, many food bloggers use an HD photo converter to generate a cleaner high-resolution version for upload. It is a practical way to rescue a soft export. You can try Zawa AI tools to upscale image quality up to 4K.
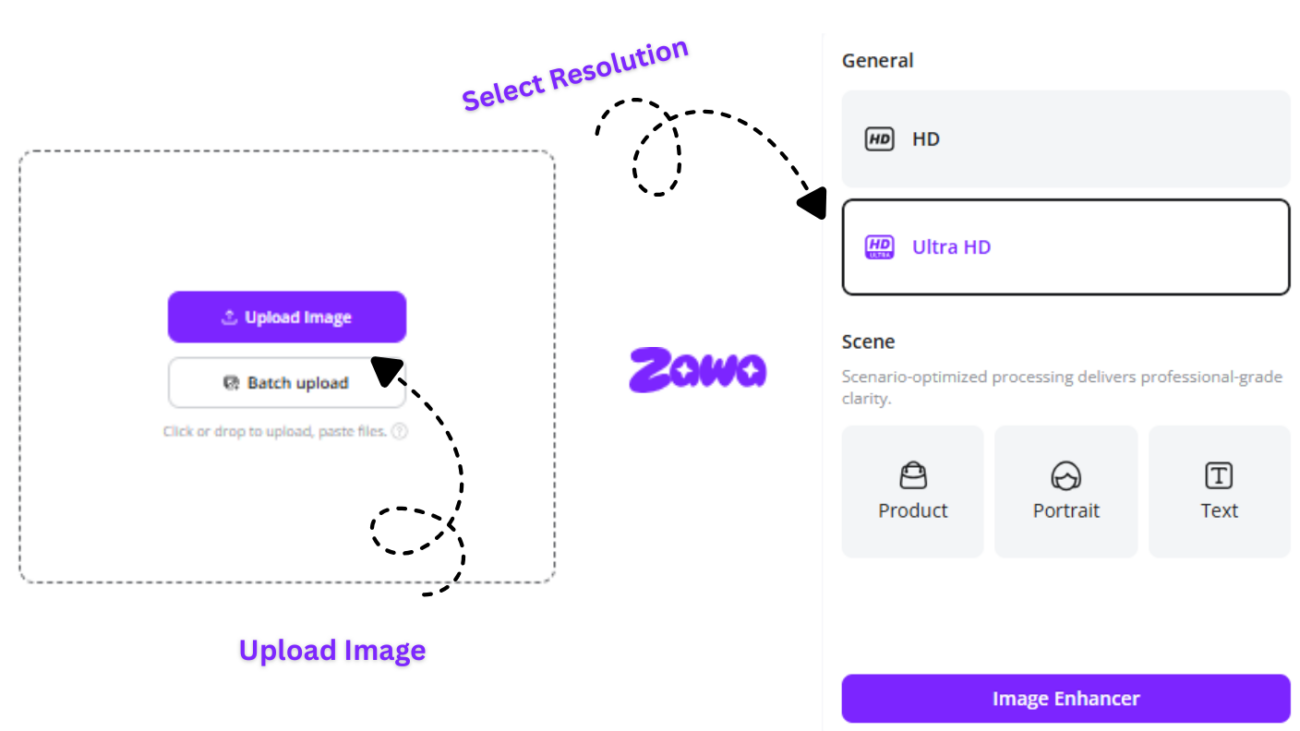
Quick save checklist:
- Keep the original (don’t overwrite)
- Pinterest: 1000×1500 JPG, 80-90% quality
- Blog: 1200-1600px wide, 200-400KB
- Descriptive names help. Like lemon-blueberry-scones.jpg
Edit Gently So Food Still Looks Like Food
Editing should make the dish look like it does in person.
Start with white balance – if the white plate looks orange, adjust temperature until it looks white again, then lift exposure just enough to open shadows.
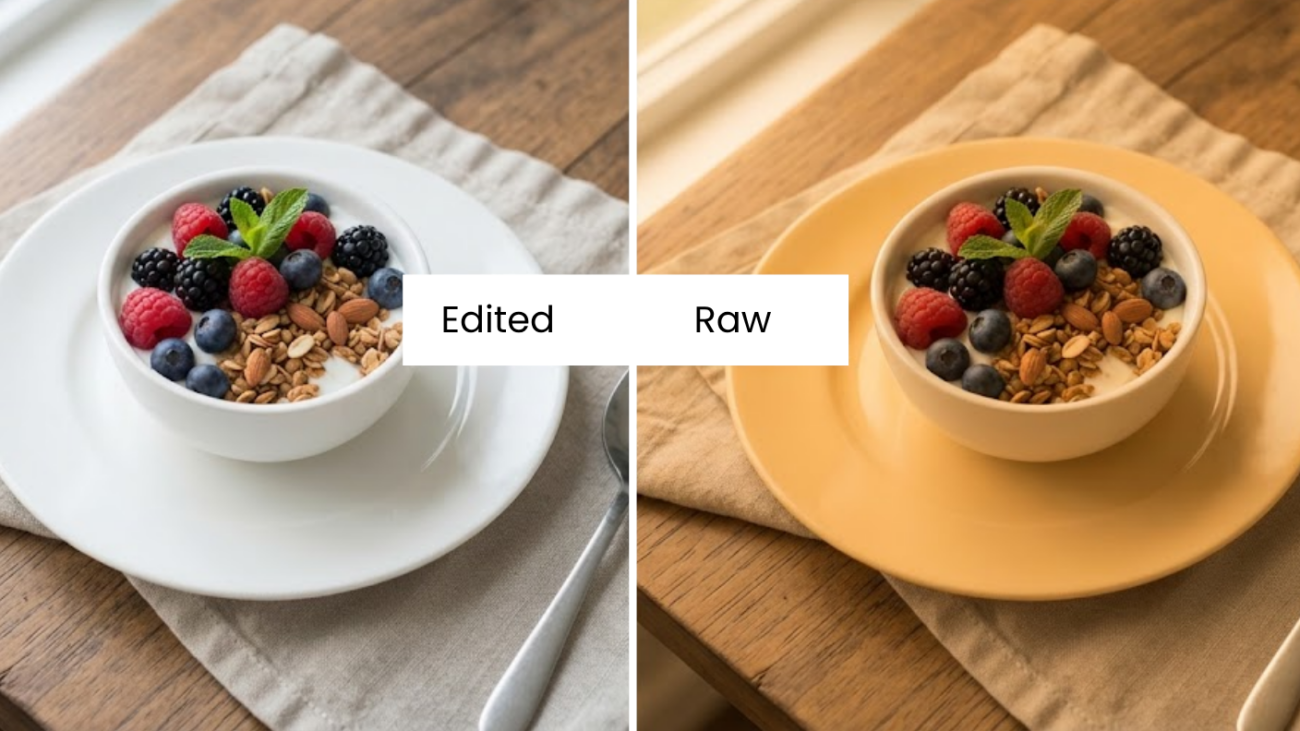
Don’t overdo sharpness. Add a little, zoom in to 100%, and check edges. If halos show up or sugar looks gritty, bring it down. Vibrance is usually safer than saturation. Gives dull colors a boost without making berries neon bright.
Once one image is good, copy settings to the rest. Keep small adjustments only so the post stays consistent.
Do Not Forget About Video Quality
Clips work BEST for driving traffic to a blog and Pinterest. But if there is a watermark or text all over them, it takes attention off the food. The cheese pull, the sauce pour – that’s what people want to see. Not a logo in the corner.
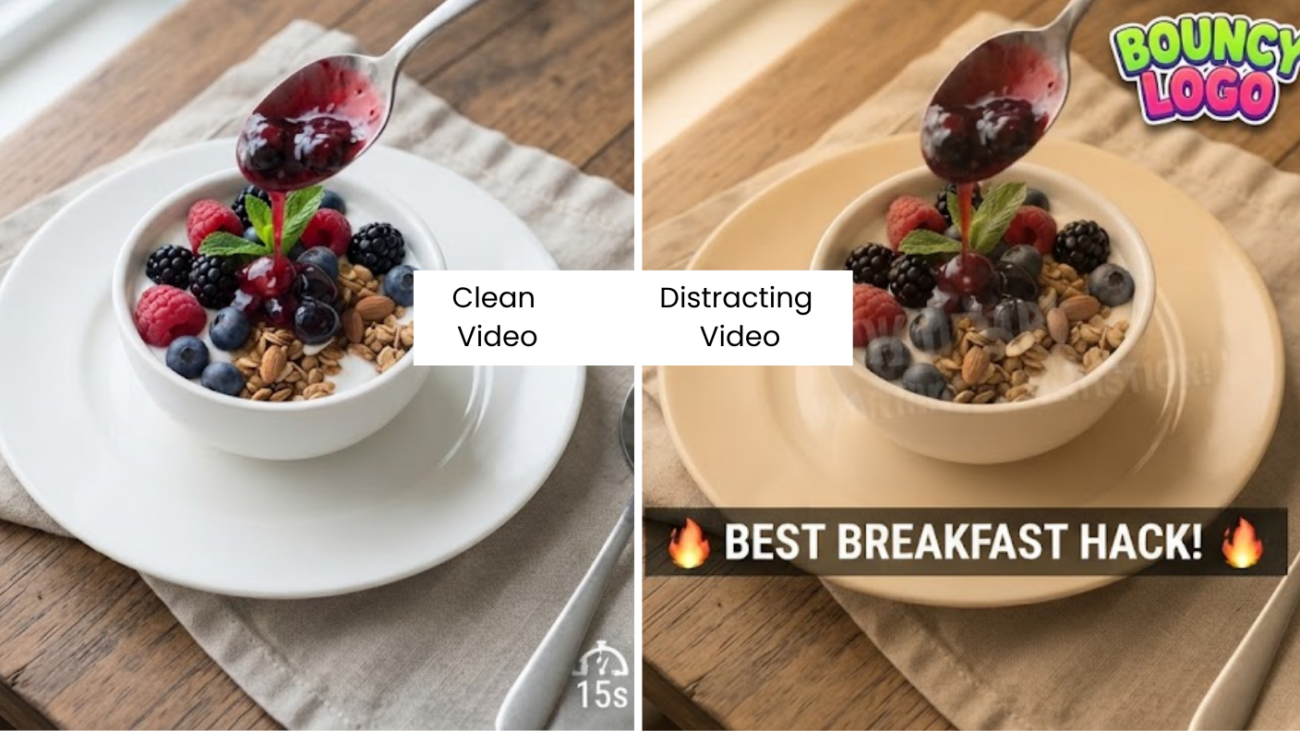
So, make sure to remove watermarks from videos. When you remove them before publishing, the video feels cleaner, and the food stays at the center of the shot. There is less visual noise for viewers to look past.
For Pinterest, keep the video short, around 15 to 30 seconds. Blog videos can be a little longer, but should preferably not exceed a minute. Vertical for Pinterest, horizontal for blog.
Final Check Before You Publish
On Pinterest, people are searching, not just scrolling. When they type “easy chicken dinner” — they want to see a chicken dinner that “looks” easy to make. Make sure your pin matches that intent. For text, less is better. Two or three words up top; leave the food clear in the middle.
Pinterest adds its own buttons, so leave some space for that as well. Finally, before uploading, make sure to open your image on your phone and your laptop. Zoom in, is it actually sharp? Then check the file size. Under 1MB for Pinterest, around 200-400KB for the blog is usually fine. Good window light, clean background, steady focus, and exporting it right — do that every time and your feed will start to look consistent.
